Knowing how to clean a portable ice maker is crucial to maintaining product performance and longevity. Designed to be highly efficient and easy to use, these appliances are becoming increasingly popular with people looking for an alternative to the traditional refrigerator’s freezer-based ice makers. Keep reading to learn how to clean your ice maker machine easily!
*This post contains affiliate links. Full disclosure here.

Why You Should Clean Your Ice Maker
A countertop ice maker and portable ice makers offer a convenient way to produce fresh ice in any environment quickly. Still, they require regular maintenance to keep them functioning like new. With proper cleaning and care, you can ensure that your portable ice maker continues working efficiently for years.
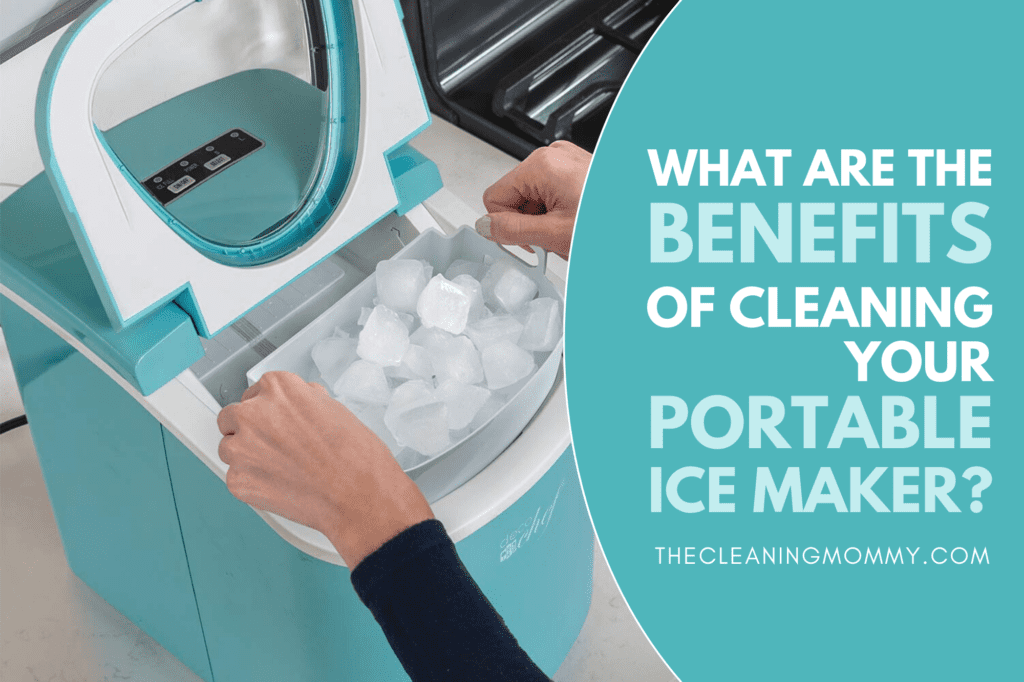
What Are The Benefits Of Cleaning Your Ice Maker?
There are several benefits of keeping your portable ice maker clean. Here are just a few that also can be applied to any ice machine…
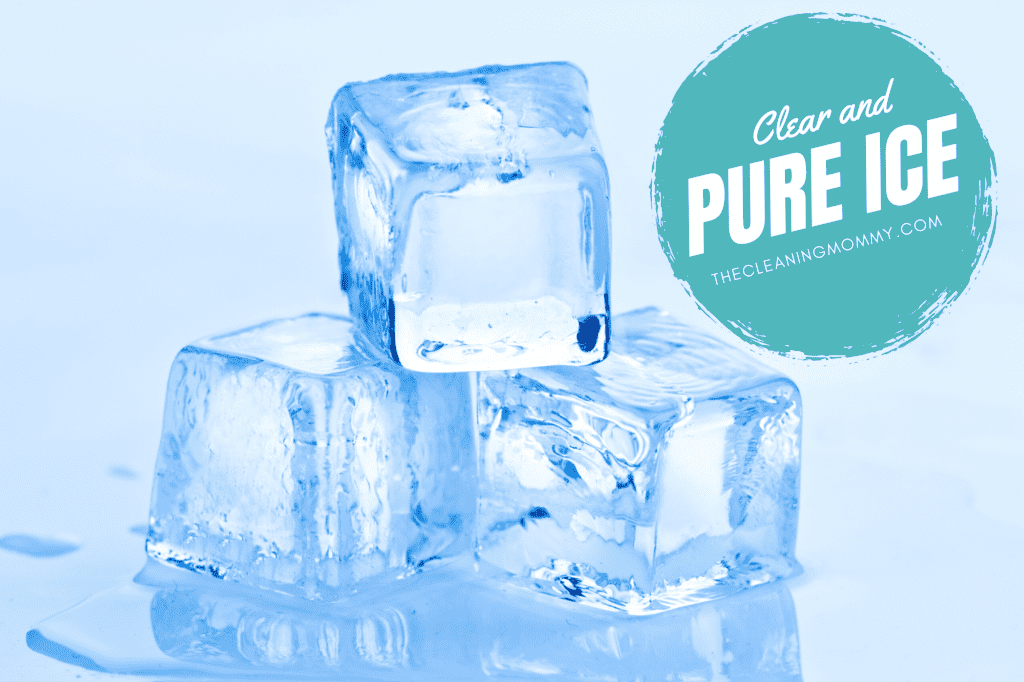
Clear And Pure Ice
The ice you get from your portable ice maker will only be clear and pure if you clean it regularly. When you clean your portable ice maker regularly, you’ll have crystal-clear ice without impurities causing cloudiness.
As a result, your ice tastes fresh, does not absorb any impurities from the ice maker, and has an unpleasant taste and smell. You can also make better ice from your ice maker by using purified water since that can result in cleaner ice.
No Water Borne Health Concerns
An ice maker accumulates impurities due to the moisture from the water it uses to create ice. This can lead to dangerous consequences for health, as this moist environment is ideal for the growth and development of mold, bacteria, and other mineral deposits.
Furthermore, these mineral buildup impurities can affect the taste and smell of the ice produced by an ice maker. In order to avoid any potential problems, it is important to maintain regular cleaning schedules for your ice maker – not only will this extend its lifetime but also guarantee that the ice produced by it is always safe and free from harmful impurities.
Increased Durability
Your ice maker’s ability to last while working at maximum efficiency is one of its most important determining factors. A dirty ice maker slowly deteriorates and performs less efficiently if it is not cleaned regularly.
Given the cost of the average ice machine, if you want it to last a few years, you’ll need to develop a regular cleaning schedule to prevent any damaging effects on your ice machine.
What Will You Need?
If you want to make a homemade vinegar solution to clean your ice maker, you’ll need the following:
Ice Machine Cleaning Supplies
Warm water
Baking soda
Distilled white vinegar
Ice Machine Cleaning Tools
Soft cloths or microfiber
Toothbrush or cotton swabs

How to Clean a Portable Ice Maker
Outside Cleaning
Here is a step by step guide to help you clean your portable ice maker. Remember to unplug the appliance before you start cleaning.
First, begin by carefully removing the ice basket from the portable ice maker to ensure that you won’t accidentally damage any internal components during the process. This will also provide easy access to the interior surfaces.
Next, create a diluted cleaning solution by mixing warm water with a gentle, non-abrasive cleaning agent for a good scrub. Be sure to avoid using any harsh chemicals, caustic solutions, or flammable fluids, as these can cause damage to both the ice maker and the quality of ice produced. Additionally, using such solutions could be hazardous to your health. You can make warm soapy water by mixing a few drops of Dawn liquid dish soap or any other mild soap.
To clean the interior of the ice maker, dampen a soft cloth with the diluted cleaning solution and gently wipe down all the internal surfaces. Be sure to start scrubbing all the corners and crevices to remove any accumulated mold, dust, or residue. The use of a soft cloth will help prevent scratches or damage to the ice maker’s surfaces. Avoid using hard bristle brushes or sponges, as these can either damage or leave debris behind that will end up in your ice cubes.

Once the interior is thoroughly cleaned, it’s time to move on to the exterior. The process is much the same, so you won’t need any additional tools. You can keep the exterior cleaner by regularly wiping it down as often as you use the appliance.
Mix a mild detergent with warm water in a spray bottle to create a gentle cleaning solution suited for the ice maker’s exterior surfaces. Using a soft cloth, dampened with this cleaning solution, gently hand wash and clean the outer surfaces of the appliance. This not only helps maintain its appearance but also keeps it hygienic and free from any contaminants or debris that may be present. Avoid using paper towels to wipe, as these can leave traces of debris.
After cleaning both the interior and exterior of the ice maker, it is crucial to dry all surfaces using another soft, lint-free cloth. This will prevent any water spots or streaks from forming and ensure the appliance remains in optimal condition for continued use. Make sure to reach all the nooks and crannies, both inside and outside of all kitchen appliances, to prevent any moisture buildup or mold growth.
Drying is especially important if you live in a humid environment, as this can be a welcome mat for bacteria to breed. Look for black spots, grime, and other signs of mildew accumulation to keep mold and bacteria at bay. Checking lines for bacteria growth is also important to keep your appliance safe and working correctly.
Inside Deep Cleaning
To maintain the efficiency and longevity of most portable ice makers, it’s important to deep clean and sanitize ice makers regularly. The following steps provide a detailed guide on how to deep clean a portable ice maker thoroughly, and make an ice maker cleaning solution, ensuring that you enjoy clean and fresh ice every time.
The first step is to unplug the ice maker from the power source. This ensures your safety while cleaning the ice maker machine. You’ll also want to drain any water from the inside.
Next, carefully remove the ice basket and any other removable parts, such as a water filter. Detaching these parts will make it easier to access and clean the inside of the ice maker. Pay attention to the user manual for guidance on how to safely remove these parts.
With the basket and any other removable parts out of the portable ice maker, clean the ice scoop and basket using a mild soap and warm water cleaning solution. Gently scrub these parts, avoiding any rough or abrasive materials that could damage the surface. During this step, you can also use baking soda to remove tough stains and impurities from hard water lines. The final wash should remove any traces of baking soda, if you do use baking soda. Boiling water can also help flush out any cleaning agents or impurities as you clean your ice maker.
Now, it’s time to clean the interior of the ice maker. Using a mild solution, spray your cloth and gently wipe the interior surfaces, removing any dirt or residues. If you encounter any difficult-to-clean areas, using a toothbrush can effectively dislodge and remove stubborn grime. If you don’t have an old toothbrush, a cotton swab (otherwise known as a q tip) will do the trick.
To clean the water reservoir, prepare a mild cleaning solution of white vinegar and water mixed in a 10:1 ratio. This will help to remove any build-up or deposits inside the reservoir. However, if you notice significant scale build-up, use a heavier solution specifically designed to tackle scale. You can add lemon juice to this solution in a spray bottle for a fresh scent.
With your chosen cleaning solution in the water reservoir, run two ice-making cycles with your ice maker machine. Then, discard the unused ice produced in the cleaning cycle, as it may contain residues from the cleaning solution.
After the two ice-making cycles, drain any remaining water from the water reservoir and rinse it thoroughly with clean water. This step is crucial to avoid the taste of vinegar or cleaning solution in your future ice cubes.
If your ice maker has a water line or old filter, remove it and wash it separately. This will ensure that the water supply to your ice maker remains clean and uncontaminated. You don’t want any black stuff in there!

To further rinse the ice maker, fill the reservoir and run two more ice-making cycles using fresh water, and discard the ice produced from the clean cycle. Drain any remaining water from the ice maker appliance.
Depending on your plans for the ice maker, you should either wipe the ice maker dry for storage (be sure to drain all residual water) or refill the water reservoir with filtered water to prepare for further ice-making. Ensuring that the machine is completely dry before storage will prevent the growth of mold and bacteria.
To maintain cleanliness, wash the scoop regularly using a dishwasher, placing it on the top rack for the best results. But if you don’t have a dishwasher, scrubbing by hand is just fine. No special tools are required for the scoop itself.
By following these detailed steps, you can ensure that your ice maker operates efficiently and provides clean, fresh ice for you to enjoy. Regular cleaning and maintenance will not only prolong the life of your machine but also contribute to better-tasting ice, improving your overall experience with the appliance.
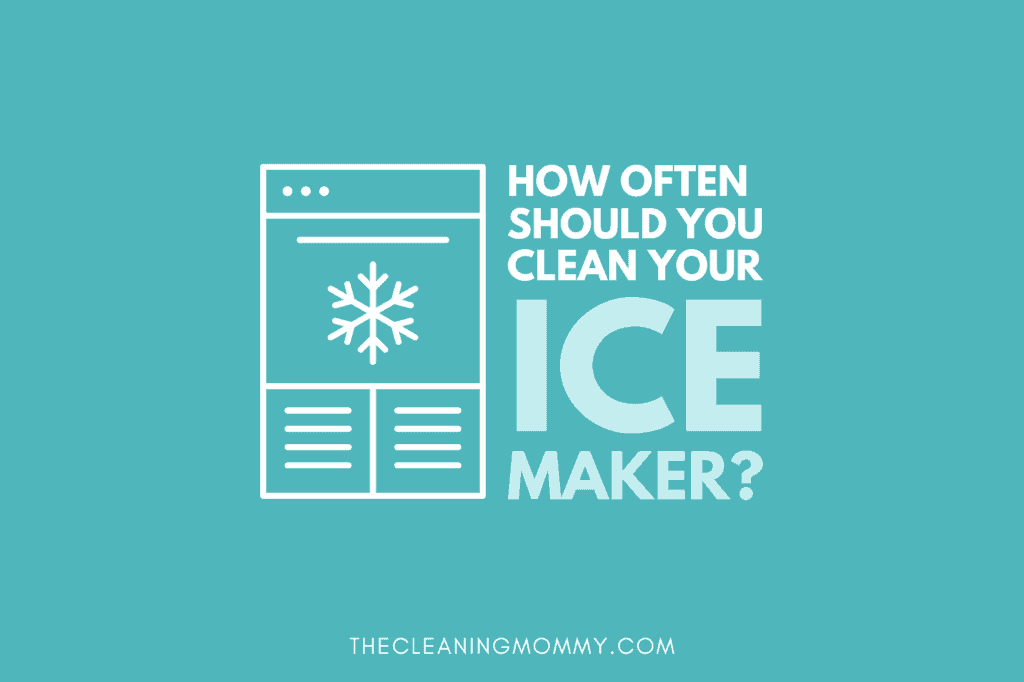
How Often Should You Clean Your Ice Maker?
If you want to only use your ice machine instead of the refrigerator freezer for making ice cubes, you should go through a cleaning cycle every 1-2 months. This will keep your ice machine working at its best.
Hard water, which is characterized by a high concentration of minerals such as calcium and magnesium, is a common issue faced by many households. While it is not harmful to consume, it can have detrimental effects on your ice maker machine and other appliances that use water. Therefore, investing in a water softener system can save you from potential damage or mineral buildup in your ice maker machine and offer several other benefits.
Firstly, hard water can cause a buildup of scale or mineral deposits within your ice maker machine, which may result in clogs and reduce the efficiency of the system. These deposits can also lead to decreased performance, malfunctions, and even complete breakdowns, all of which can prove to be costly in terms of repair and replacement expenses.

In addition to protecting your ice maker machine, a water softener system can have positive effects on your other household appliances, such as dishwashers and your washing machine. This is because minerals in water can cause similar mineral buildup issues in these devices as well, shortening their lifespan and reducing their overall efficiency.
Hard water, which is characterized by a high concentration of minerals such as calcium and magnesium, can have undesirable effects on the quality of ice produced by your ice machine. In order to create the best ice possible, it is advisable to use filtered water instead. Filtered water has been treated to remove impurities and mineral content, resulting in clearer ice that tastes better and freezes more evenly.
To combat the effects of hard water in your ice maker, you can incorporate the use of vinegar. Vinegar is a natural and inexpensive cleaning agent that can effectively dissolve and remove mineral buildup. A mixture of equal parts water and vinegar can be run through the ice maker to clean the internal components and eliminate limescale deposits. Performing this cleaning process regularly can go a long way in maintaining the performance of your ice maker and ensuring the production of the best quality ice.
Other Cleaning Articles You May Enjoy:
- How to clean high chair straps
- How to get scentsy wax out of clothing
- Amish cleaning tips you might want to try
- Homemade jet dry
- How to get eyeliner out of carpet

Grainne Foley
Grainne Foley is a wife and mother of 2 great kids. During her 5 years of full time RV travel, Grainne learned to become very efficient at household chores, in order to make time for family adventures. Now, back in a house, she has continued to create tools and techniques to help others lighten the load of household organization and cleaning.

Leave a Reply