Cut to the chase
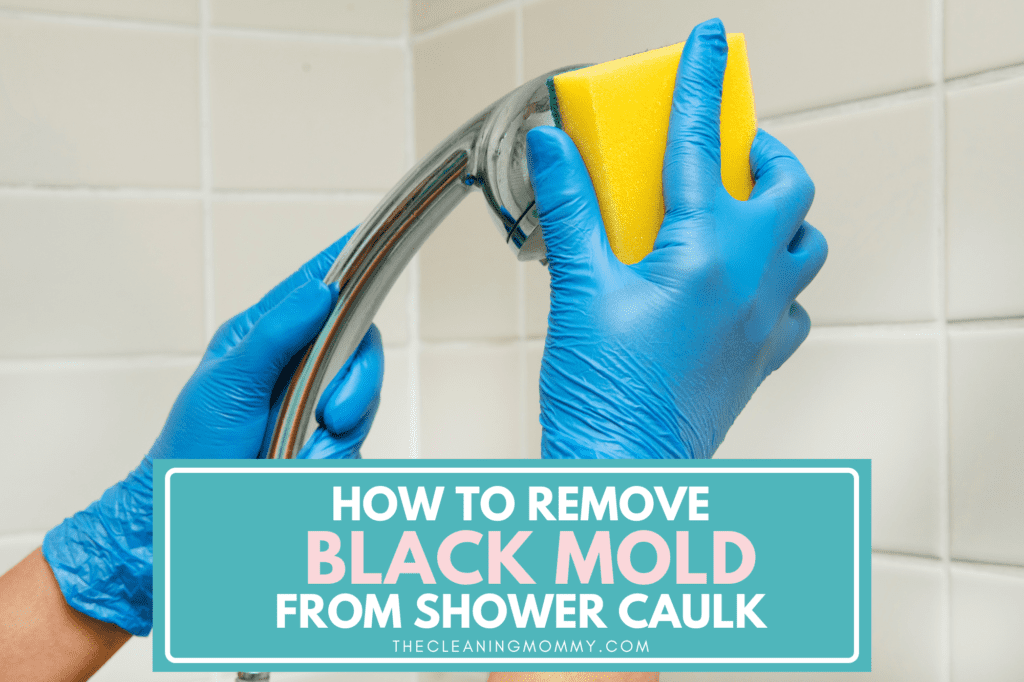
How To Remove Mold From Shower Caulking With Bleach
- Gather rubber gloves, bleach/ water solution, mask, and cotton balls or coils.
- Ventilate the bathroom well.
- Apply bleach solution soaked cotton balls to the stain.
- Let sit for 2-3 hours and inspect.
- Rinse and wipe clean.
Mold is a typical problem in many homes and can be especially troublesome in the bathroom. One place where mold often grows is in the silicone caulking around the shower. It can be a daunting task, but knowing how to remove black mold from shower caulking will help you to keep your bathroom looking fresh and clean.
The best way to remove black mold is to use a solution of bleach water to kill the mold. The real trick is knowing how to keep the moldy area wet and bleached for a period of time in order to effectively do the job.
If you prefer not to use bleach, there are other methods as well that we will take a look at.
How To Remove Mold From Shower Caulking With Bleach
Bleach is great for removing mold from hard surfaces like shower caulking. It’s best advised to incorporate bleach into your regular bathroom cleaning regimen. Mold is a type of fungi that can grow both indoors and outdoors.
Although mold is essential for the decomposition of organic matter, it can also cause a number of health problems, such as respiratory infections, skin irritation, and allergic reactions. If you suspect that there is mold growth in your home, it’s important to take prompt action to clean it up.
Bleach is an effective mold killer, but it’s also corrosive. As a result, it’s important to take care when using bleach to clean mold by wearing protective gear.
Step 1: Gather Supplies
To begin cleaning mold from shower caulking with bleach you will need:
- A cloth mask
- Rubber gloves
- A spray bottle of bleach solution
- Cotton balls or cotton coils
Step 2: Make Sure Your Bathroom Is Well Ventilated
Bleach is a powerful cleaning solution that can kill bacteria and remove stains. However, it is also a harsh chemical that can be dangerous if used improperly.
In order to avoid problems, it is important to make sure that your bathroom is well-ventilated before using bleach to remove mold from shower caulking. The fumes from bleach can be irritating to the lungs, so it is important to open a window or turn on a fan to ensure that the air is moving. You also want to wear gloves and other forms of protective gear.
Step 3: Apply Bleach Soaked Cotton Balls
Soak cotton balls or cotton coils in your bleach solution, or alternatively, place dry cotton balls on areas of shower caulk. Spray the cotton balls with your bleach spray bottle until they are completely soaked. Alternatively, you could use strips of wet cloth from an old towel. In a pinch, try toilet paper. You will throw this away afterward.
Step 4: Remove Cotton Balls And Observe
Leave cotton balls in place for 2-3 hours to allow a deep cleaning. Then, use a scrub brush or old toothbrush to knock away any loose mold. If you aren’t happy with the results, and some black mold remains, repeat with bleach-soaked cotton balls on the affected area for an additional hour.
Step 5: Wipe Clean
Rinse well with water once you are satisfied the bleach has been effective for mold removal.
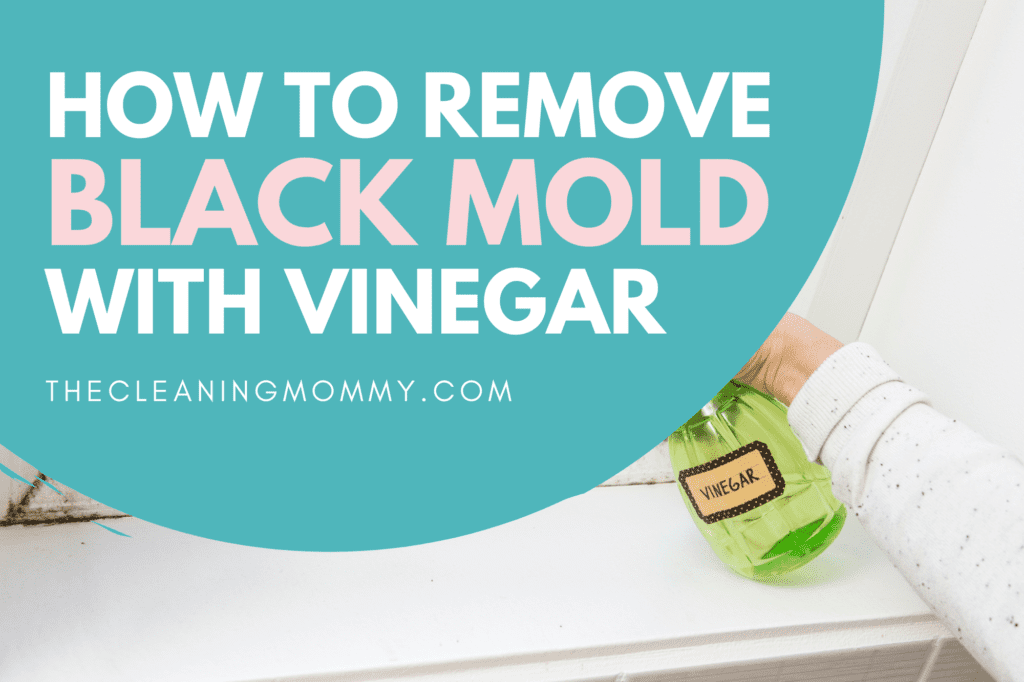
How To Remove Mold From Shower Caulking With Vinegar
While bleach is the go-to for mold removal, affected areas of silicone caulk may need more help. Try this cleaning hack using distilled white vinegar!
Step 1: Pour vinegar into a spray bottle
Add white vinegar to an empty spray bottle. Be careful not to use a bottle with bleach inside; this will lead to toxic fumes!
Step 2: Spray the vinegar solution on the visible black mold
Liberally spray your vinegar onto all affected areas of shower caulk, along the floor or up the shower walls, especially anywhere traces of black mold remain. Let this sit for 2-3 hours.
Step 3: Scrub with a brush
You can use a soft-bristled brush or even an old toothbrush to clean the shower caulk with the vinegar once it has set.

Step 4: Wipe down with a sponge
Wipe the vinegar down with clean water and inspect the shower caulk. Is there still traces of mold growing? If you’re successful in the endeavor to remove mold from shower caulk, then you’re done!
Step 5: Repeat as necessary
Assess caulk frequently to ensure your cleaning methods can kill mold and keep growing mold at bay. If you notice more black mold, clean again.
How To Remove Black Mold From Shower Caulk With Baking Soda
Bicarbonate of soda, also referred to as baking soda, is a universal, inexpensive cleaning product that most people have at home. It can be dissolved in water or mixed into a paste.
Step 1: Create a paste
Firstly, make a paste by mixing the bicarbonate of soda and water together. Water and baking soda should be mixed 1:1.
Step 2: Apply the paste to the affected area
Put the paste on the moldy caulk using an old spoon or spatula. Give it at least a half hour to work, if possible more.
Step 3: Scrub
Make sure the affected area is thoroughly scrubbed with an old toothbrush or something similar.
Step 4: Sponge down and take a look
To remove all baking soda and mold, sponge down the area after scrubbing and inspect the shower caulk.
Step 5: Repeat as necessary
This cleaning hack is so easy, you’ll only need to perform it again to remove mold and mold spores as they occur.
How To Remove Mold With Borax
A substance such as borax is similar to bicarbonate of soda, but it has a greater potency for cleaning mold. Follow the same procedure as described above for bicarbonate of soda. Borax can be picked up at hardware stores and most grocery stores in the laundry section.
How To Remove Mold From Shower Caulk With Ammonia
Among the cleaning agents we mention here, ammonia is the most effective and is suitable for all kinds of mold spores. The fumes and skin damage can, however, be prevented with proper precautions and ventilation.
Step 1: Maintain Proper Ventilation in the Room
If there is a bathroom fan, turn it on and open all windows and doors to ensure the room is adequately ventilated. Use your electric fan to increase the room’s airflow if you have one.
Step 2: Protect yourself with the right equipment
Be sure to wear the proper protective equipment, such as rubber gloves, eye protection, and a ventilator. The hardware store will be able to provide you with a ventilator mask if you don’t already have one.
Step 3. Fill the spray dispenser with ammonia
Make sure your bottle is filled with an adequate amount of ammonia solution. Remember to use a clean bottle and never mix bleach and ammonia!
Step 4. Apply a generous amount of spray to the affected area
You should apply ammonia to the area that is suffering from a mold problem. Ensure that you spray extra in areas with particularly noticeable growth and in corners.
Step 5. Allow at least 10 minutes for soaking
Let the ammonia do its work. For best results, leave it in place for 10 minutes or more.
Step 6. Use a brush to scrub
Give the caulk a good scrub with a toothbrush or something similar.
Step 7. Clean up with a sponge
Scrub the caulk with a sponge and rinse with warm water afterward.
Step 8. Continually inspect and repeat
The results should be checked – and if necessary, the process should be repeated.
How To Remove Mold With Hydrogen Peroxide
Cleaning shower caulk with hydrogen peroxide is highly effective for removing mold.
Step 1. Add peroxide to the spray dispenser
Ensure you have an adequate amount of hydrogen peroxide solution in your bottle. Remember to use a clean bottle.
Step 2. Spray generously on the affected area
Peroxide should be applied to the mold-damaged area. Place extra spray in areas where growth is evident and in corners.
Step 3. Soak for a minimum of 10 minutes
Let the peroxide work its magic. Allow it to sit for 10 minutes or more for the best results.
Step 4. Scrub with a brush
Using a scrub brush or similar tool, scrub the caulk well.
Step 5. Wash Areas
Use a sponge to scrub the caulk, then rinse with warm water.
Step 6. Keep inspecting and repeating
You should check the results and repeat the process if necessary.
How To Replace Shower Caulking
Shower caulk can be a breeding ground for mold and mildew. If you find mold or mildew on your shower caulk, it’s important to clean it immediately. However, sometimes the mold can be difficult to remove and you may need to replace the caulk altogether.
Step 1: Remove Caulk
When it comes to shower caulking, there are two primary types of materials used: silicone and latex. Silicone caulks are more durable than latex, but they can be more difficult to work with. Latex caulks are easier to use, but they don’t last as long.
If you’re removing old caulk, you’ll need to use a caulk remover gel to soften it up first. Apply the gel for about 20 minutes, then use a utility knife to scrape off the caulk. Once the old silicone caulk is removed, you can start fresh with new silicone or latex caulk.
Step 2: Remove caulk residue with a scrubber sponge
Start by getting the area wet and then scrub away at the caulk residue with the sponge. Be sure to rinse off the sponge frequently to avoid spreading around any dirty water.
Once you’ve removed all of the residues, you can proceed with re-caulking or proceed to the next step in your replacing caulk project.
Step 3: Dry shower walls and caulk area
The next step is to carefully and completely dry the area. This may seem like an obvious step, but it’s important to make sure that there is no moisture in the area before applying the new caulk.
If there is even a small amount of excess moisture, the new caulk will not adhere properly and will eventually start to peel away. In addition, the new caulk will not be as effective in sealing out moisture if there is already excess moisture present.
For best results, use a hair dryer or a heat gun to thoroughly dry the area and remove excess moisture before proceeding to step four.
Step 4: Apply mold-resistant caulk
One way to prevent mold in shower caulk is to caulk the area again with mold-resistant caulk. It is best to use silicone caulking, but note that acrylic caulk is not mold resistant. Replace caulking to help to keep moisture from accumulating and will also discourage mold growth.
Step 5: Wipe smooth using wet fingers
Once the new caulking has been applied, it is important to smooth it out with a wet finger. This will help to create a nice, even surface and prevent any gaps or holes from forming. It is also important to wipe away any excess caulking before it dries.
Step 6: Allow drying time
One important step in the installation of a new shower is to allow drying time for your new shower caulk. This will guarantee that the silicone caulking adheres properly to the surface and prevents water from leaking through.
The drying time will vary depending on the caulk you use. Read the manufacturer’s instructions carefully to determine how long you need to wait.
What Causes Black Mold In Shower Caulking?
Mold loves damp, dark places, and shower caulking provides the perfect environment for mold to grow. When water leaks behind the caulking or condensation builds up, it creates an ideal breeding ground for mold.
In addition, old or damaged caulking can also provide a way for mold to enter your home. Once mold gets a foothold in your shower caulking, it can spread quickly.
How does a mold infestation spread?
Black or pink mold grows where moisture is present for long periods. A shower caulking that remains wet for more than 60 percent of the time due to bad ventilation will attract and multiply the spores that are present in any home.
Grout, caulk, wood, soil, cloth, and paper will all support mold. Bathrooms always contain most of these substances. The high humidity, combined with a food source and a lack of ventilation, provides an ideal environment for mold stains and growth.
In order to prevent and stop mold growth in the bathroom, it is important to ensure that the space has adequate ventilation. You can do this by installing a bathroom fan or opening a window during and after showers.
Additionally, it is important to regularly clean the bathroom and remove any potential food sources for mold spores. By taking these simple steps, you can help to prevent mold growth in your bathroom.
How To Keep Mold Out Of Shower Caulk
Regular cleaning is just one way to keep mold in shower caulk at bay. Keep reading for the best tips to prevent mold in shower caulk.
Ensure your bathroom is ventilated
Maintaining a healthy indoor environment is important for preventing the growth of mold. One of the key areas to focus on is the bathroom, as it is typically a more moist area than other parts of the home.
Adequate ventilation is essential for preventing an overly moist environment that mold loves. Whether it’s opening a window when showering or using an exhaust fan, taking steps to ensure that the shower area is well-ventilated will help to prevent poor ventilation and mold.
Clean your shower 3-4 times per month.
Proper cleaning with a bleach mixture or another cleaning agent that kills mold is paramount in preventing black mold. You will want to remove mold quickly once it does accumulate, as well as soap scum on shower walls and other things that make your bathroom gross.

Use vinegar for regular cleaning
If you still have trouble with soap scum and mold, try switching to a vinegar-water solution to use on everything; including the bathroom door, shower tiles, and even that troublesome caulk line that won’t get clean.
Keep air flowing and remove excess moisture
After each shower, use a squeegee to remove water from tiles, shower doors, and other surfaces. This will help to prevent water from building up and create an ideal environment for mold.
In addition, leave the shower open after showering to allow air to circulate. This will help to evaporate any residual moisture. You also want to remove any wet towels to prevent moisture. Finally, run the exhaust fan for a few minutes after showering to help remove humidity from the air.
Conclusion
One way to prevent black mold from occurring in the bathroom is to make sure the room is well-ventilated. Leaving the bathroom door open or using a fan can help circulate air and reduce moisture, which can lead to mold growth.
Keeping surfaces clean and dry also helps prevent mold from forming. Additionally, using mold-resistant caulk in showers and bathtubs can prevent mold from growing on these often damp surfaces. Regularly cleaning and replacing old caulk can further prevent black mold growth in the bathroom.
Mold can spread quickly and cause serious damage to both the structure of a home and the health of its inhabitants. It is important to address any mold growth immediately by cleaning it thoroughly and fixing any underlying moisture issues. Ignoring or delaying the removal of mold can result in costly repairs and potential health problems for those living in the affected area.
Other Related Cleaning Articles You May Like:
- How To Clean Shower Head Without Vinegar
- Best Homemade Grout Cleaner With Dawn
- How to get rid of that awful musty smell on your clothes
- How To Remove Rust Stains From Porcelain Bathtub
- How To Clean a Bathroom Sink Overflow Hole
- How to clean kitchen tiles
- How to remove mold from clothes

Grainne Foley
Grainne Foley is a wife and mother of 2 great kids. During her 5 years of full time RV travel, Grainne learned to become very efficient at household chores, in order to make time for family adventures. Now, back in a house, she has continued to create tools and techniques to help others lighten the load of household organization and cleaning.
Leave a Reply