Cut to the chase
How To Clean A Wax Warmer
- Start the process by warming the machine to between 75C° – 90C°.
- Unplug the warmer.
- Dump the wax from inside the warmer.
- Use cotton balls to absorb the rest of the liquid wax.
- Complete the interior with all purpose cleaner and a Mr Eraser Sponge
- Use olive oil to clean the exterior.
Keeping your wax warmer clean is an important part of the overall experience when using a wax warmer. It helps keep the air free of unhealthy odors, ensures that your wax melts evenly and quickly, and helps maintain its aesthetic appeal. Plus, they’re usually very cute and make great decorative pieces around the home.
Cleaning your wax warmer regularly is easy and doesn’t require much time or effort. According to MyDomaine, ” cleaning your wax warmer does not take long and is an easy task to do when needed.” In this article, we’ll cover the basics of how to clean a wax warmer properly and effectively.
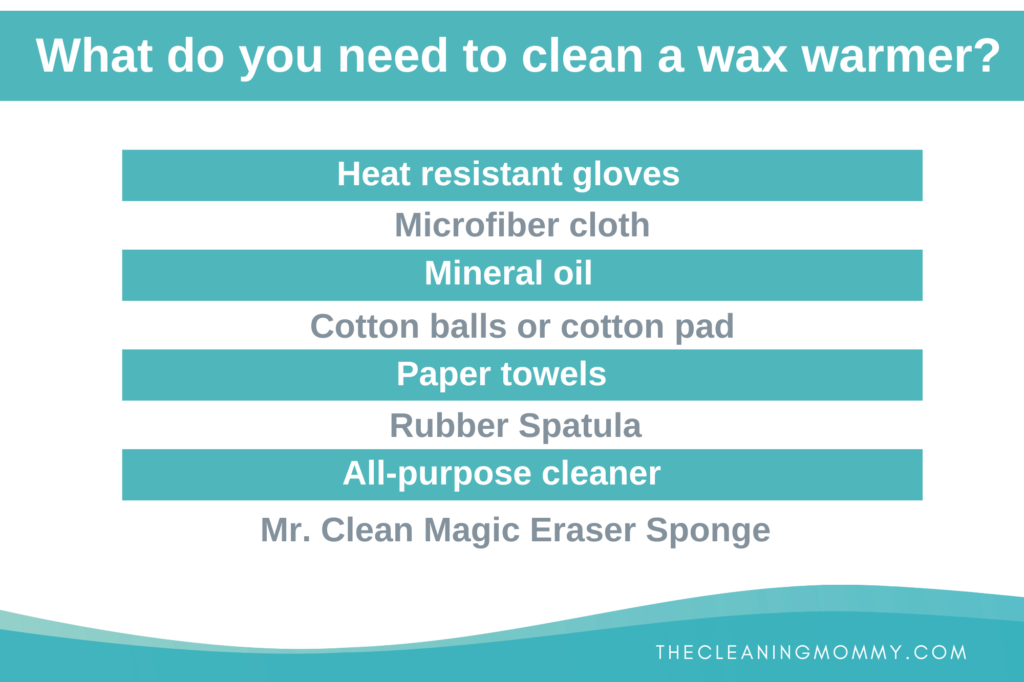
What You’ll Need To Clean A Wax Warmer:
- Heat resistant gloves
- Microfiber cloth
- Mineral oil
- Cotton balls or cotton pad
- Paper towels
- Rubber Spatula
- All-purpose cleaner
- Mr. Clean Magic Eraser Sponge
Start With Warm Wax
To clean an electric wax warmer:
- Start the process by warming the machine to between 75C° – 90C°.
- Ensure that you have an adequate amount of wax in the pot as heating an empty warner can cause it to become too hot and potentially cause damage to your warmer.
- If there isn’t much residual wax left in your pot, don’t turn the heat up all the way as this can also lead to excessive temperatures.
When dealing with hard wax specifically, make sure you wait until it is completely heated before attempting to remove it from the warmer. It is important that when removing or cleaning any aspect of your warmer that it remain unplugged at all times.
If you have a candle powered warmer, you can heat wax inside as normal, then blow out your candle once the hardened wax has melted completely.
Unplug the Warmer
Once all the components of your wax warmer or wax heater have been sufficiently warmed, turn off all power sources and allow the system to cool naturally before beginning the cleaning process. It’s best to unplug the wax warmer itself to lessen the risk of potential burns while cleaning.
Remove the Wax From the Interior
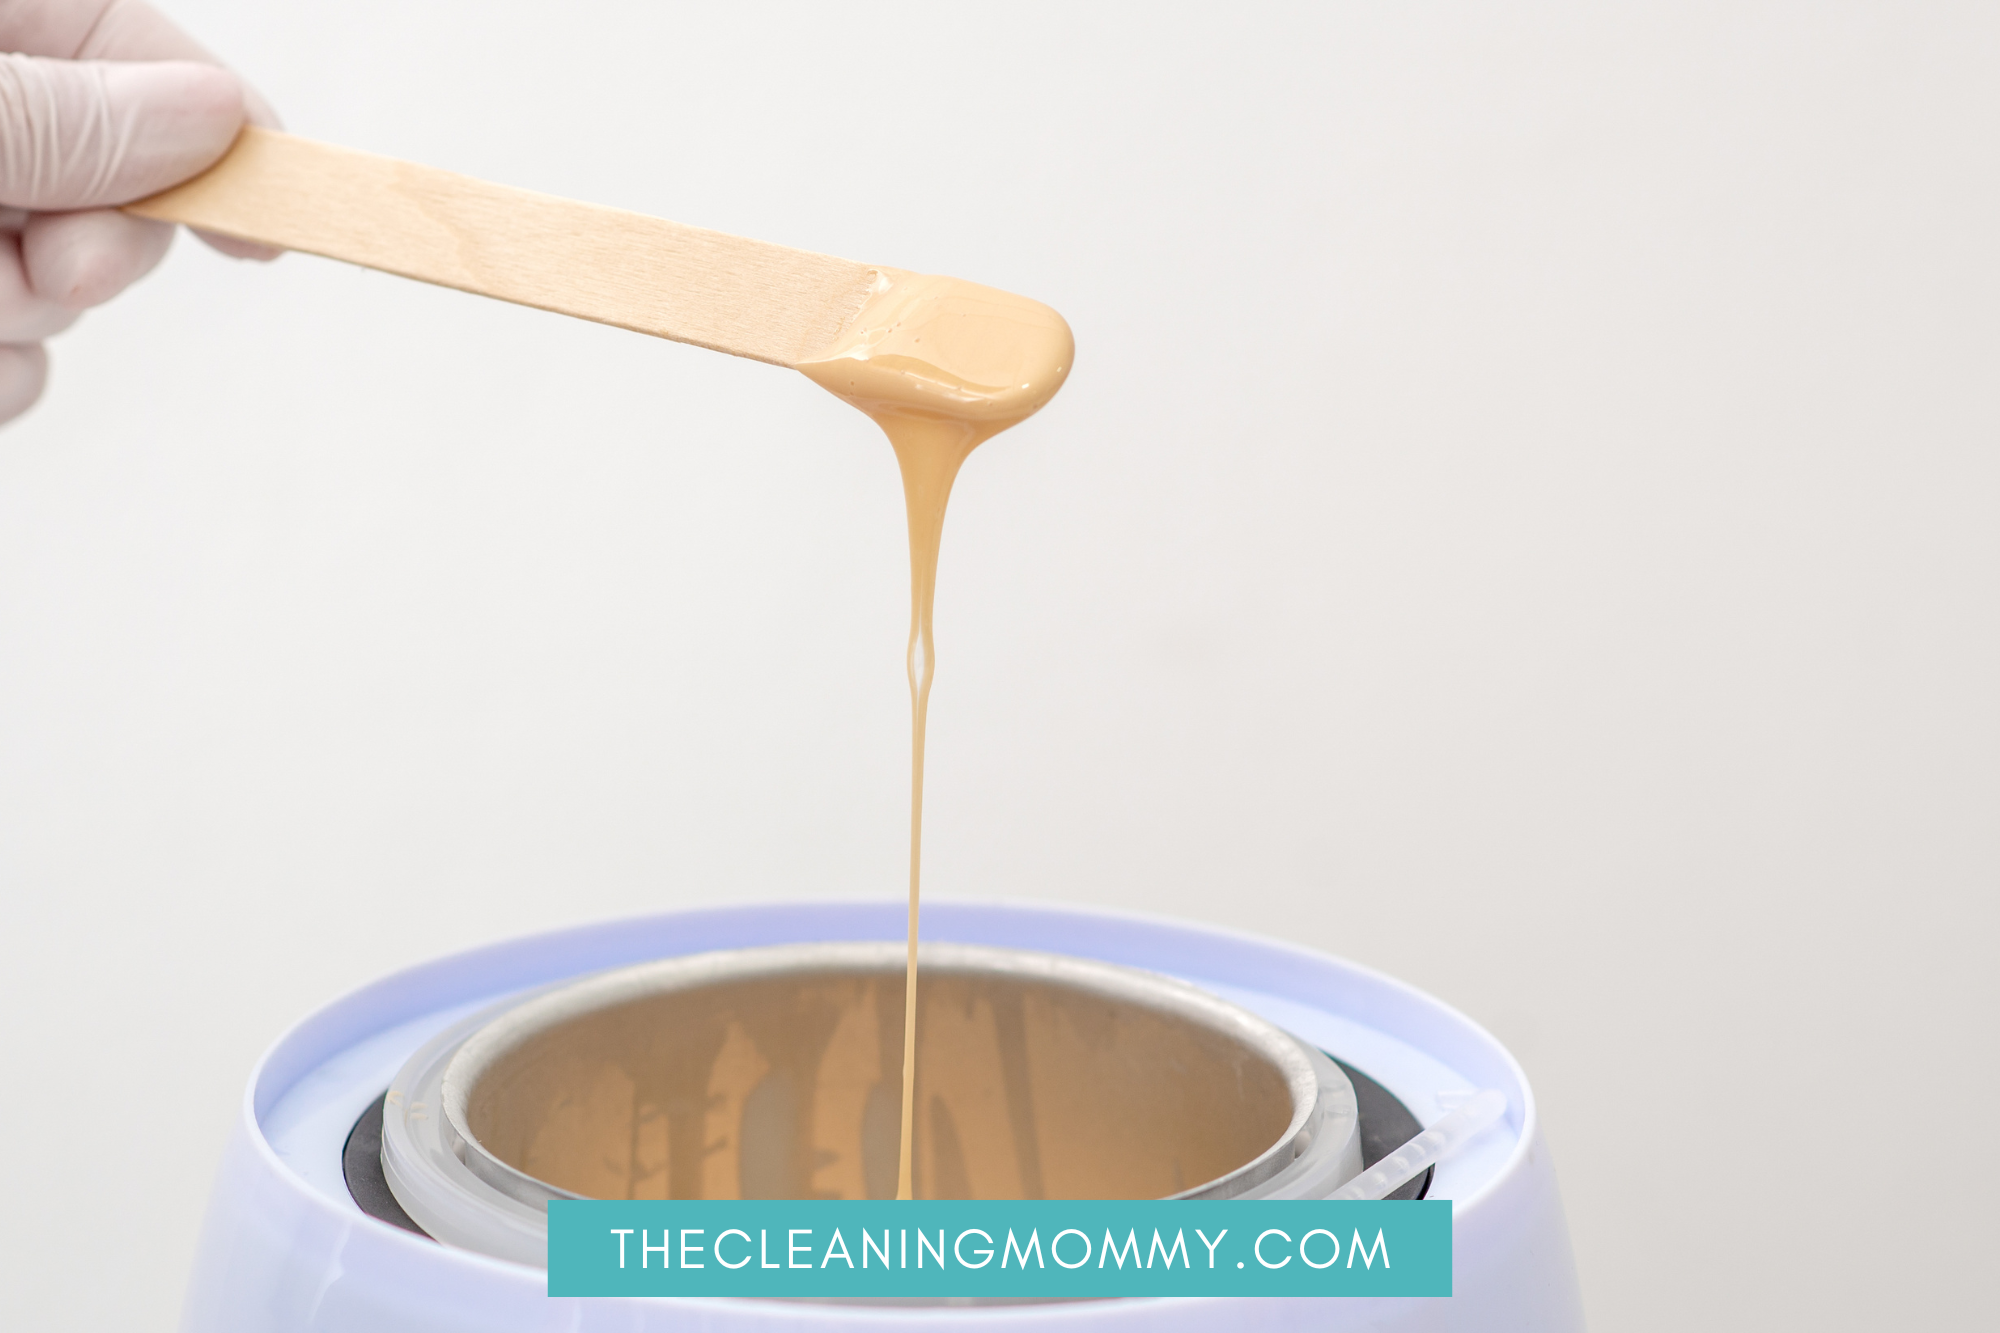
Using an oven mitt or heat-resistant gloves will prevent accidental burning when handling hot wax (don’t use bare hands). If you have a heat-safe container, you can use the pour out method to simply dump the melted wax warmer contents.
A paper towel, or even cotton balls can be used to absorb or wipe away small amounts of melted wax, such as in a decorative warmer dish. Here are other methods for removing soft wax melts as a solid piece.
The cotton ball method: In the warmer dish, drop a cotton ball (one or two cotton balls per cube of wax, or a few cotton pads) and allow it to soak up all the wax. Remove and throw away.
The freezer method: The warmer should be placed in the freezer for ten to twenty minutes. This time will enable your wax melter to pop out the solidified wax.
String method: For easy removal, incorporate a ribbon or string into the wax liquid form by double dipping it. When the wax has cooled and solidified, pull it out with the ribbon.
It is possible to dispose of or reuse large quantities of wax if they are clean by pouring them into a heat-resistant container.
To remove semi-set wax from the warmer well or dish if it starts to harden again, use a rubber spatula.
If you have warm liquid wax, use the pour out method to carefully pour the melted wax into a heat resistant container that you can dispose of if necessary.
Dispose of the Wax
Once all the wax has cooled down, it can be safely disposed of in a trash can. It should never be poured down a sink drain! The hot wax can clog up the pipes and cause serious damage that could require expensive repairs.
Taking an extra second to discard any leftover wax properly will help ensure an efficient plumbing system and reduce any associated costs that may come from careless disposal methods.
Clear Any Interior Residue
There may be visible old wax residue left in the warmer after removing the wax, in which case, spray an all-purpose cleaner on a sponge and clean the interior of the warmer well. You should gently scrub the interior with a melamine sponge (Mr. Clean Eraser) to remove tough stains and excess oil.
As a final step, use a slightly damp microfiber cloth or paper towel to clean the interior of warmer dishes to remove all remaining residues from a scented wax melt in the warmer tray. It is important to note that microfiber does not leave behind any lint behind.
For professionals who use wax for body hair removal: Use a cloth wax strip or paper towel to remove the residue after removing the useful wax. Cotton pads can cause a mess when they stick to the paste and break.

Remove Wax From the Exterior
Mineral oil or olive oil can be used to clean away excess wax drips on the outside of the warmer and other hard surfaces. You can also remove wax on other surfaces (like your countertop) with a butter knife if it’s hardened completely and you can’t warm it. After cleaning the area, use a microfiber cloth or paper towel to dry it.
Professional? Sterilize the waxing pot.
This section is for professionals who use hard wax for body hair removal on their clients. Sterilizing the non-disposable items you work with is essential to eliminating bacteria and sanitizing the products you use, which includes tweezers, metallic spatulas, as well as aluminum pots that you use to melt wax. UV towel warmers, sterilizing sprays, or boiling water can all be used to remove germs.
How to Clean a Wax Warmer Pot Without Cleaner
There’s no need to buy a special wax cleaner to keep your wax pot clean and free from residue! Isopropyl alcohol, otherwise known as rubbing alcohol, is an all-purpose solution that is great for cleaning wax warmers.
Not only can it be used to wipe down the wax warmer to remove any bacteria or remaining wax residue, but it’s also highly economical and easy to find.
How Often Should You Clean Wax Warmers?
When should you clean a wax warmer? Wax warmers are easy to maintain, and keeping up with regular maintenance is an important part of extending the life span of your warmer.
You should clean your wax warmer based on how often it’s used. Over at The Spruce, they say that “Ideally, all types of wax warmers should be cleaned after every use.” The warmer will last longer since debris, dust, and previous scents will be removed, allowing you to add new scented wax cubes or scented wax melt, as well as prolong the warmer’s life by removing buildup that would interfere with its operation.
When the melted wax no longer emits any fragrance, electric or candle-powered warmers should be cleaned, along with removable lids.
Additionally, take extra time while cleaning around buttons and switches, so they remain functioning properly after the cleaning process is complete.
Tips to Keep Your Wax Warmer Working Great
It’s best your wax warmer is cleaned regularly. For proper maintenance to keep your wax warmer in good working order, it is recommended to empty the old wax tarts after each use, and properly clean the interior afterward to remove debris. Make sure not to submerge the warmer in water and do not leave the unit on for long periods; this could cause damage or even start a fire. By following these simple steps you can maintain a well-working wax warmer.
You can make cleanup easy by investing in wax melt liners. Any tealight or electric wax warmer, wax melter, double wax warmer, or fragrance warmer can be fitted with these liners.
In addition to being leakproof, reusable, and recyclable, they are lined with a protective coating. A warmer liner provides simple, convenient, and easy access to changing wax tarts and wax melts.
Other Cleaning Articles You May Like:
- The battle of borax vs oxiclean in your laundry room
- How to clean a pack n’play mattress
- Can I put fabric softener in the bleach dispenser?
- How to wash clothes with poop on them
- Deep cleaning living room checklist

Grainne Foley
Grainne Foley is a wife and mother of 2 great kids. During her 5 years of full time RV travel, Grainne learned to become very efficient at household chores, in order to make time for family adventures. Now, back in a house, she has continued to create tools and techniques to help others lighten the load of household organization and cleaning.

Leave a Reply