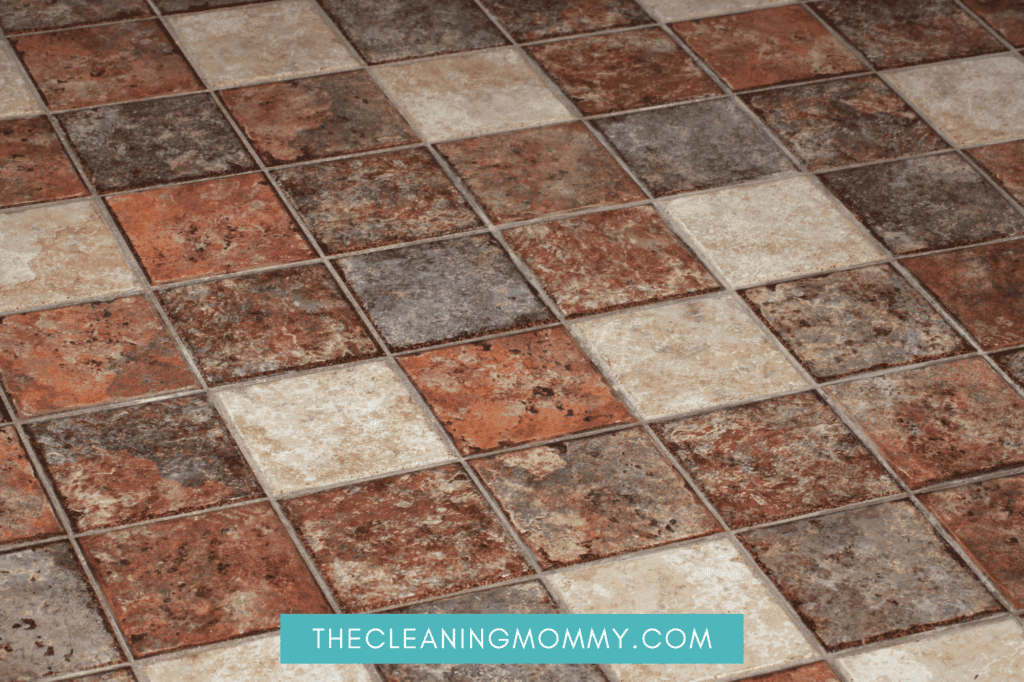
Thinking of giving your space a signature rustic look with terracotta floor tiles? Or have you recently installed this timelessly stylish flooring?
If this sounds like you, you probably want answers to the head-scratching question that most moms in your shoes want to know — “how do you clean terracotta floor tiles?”
I hear you.
Loved for their earthy, vintage-ish, old-fashioned-yet-cozy vibe, terracotta tiles are proof that some things never go out of style despite being in existence for centuries.
Knowing how to clean and seal terracotta surfaces properly is a skill every homeowner with this type of flooring should have.
Lucky for you, that’s exactly what I’ll cover today.
Read on as I share everything you need to know about cleaning terracotta flooring, mistakes to avoid, how to seal your tiles, and more.
How to Clean Terracotta Tiles:
If you are looking for the best way to clean terracotta floor tiles, I am sharing my best tips here today.
- Carefully remove all debris and dirt from your terracotta floors with a vacuum or brush.
- Now wash your tiles with warm water and mild dish soap.
- Rinse your mop and go over floors again.
- Dry the floor with a old towel or dry mop.
*This post contains affiliate links. Full disclosure here.
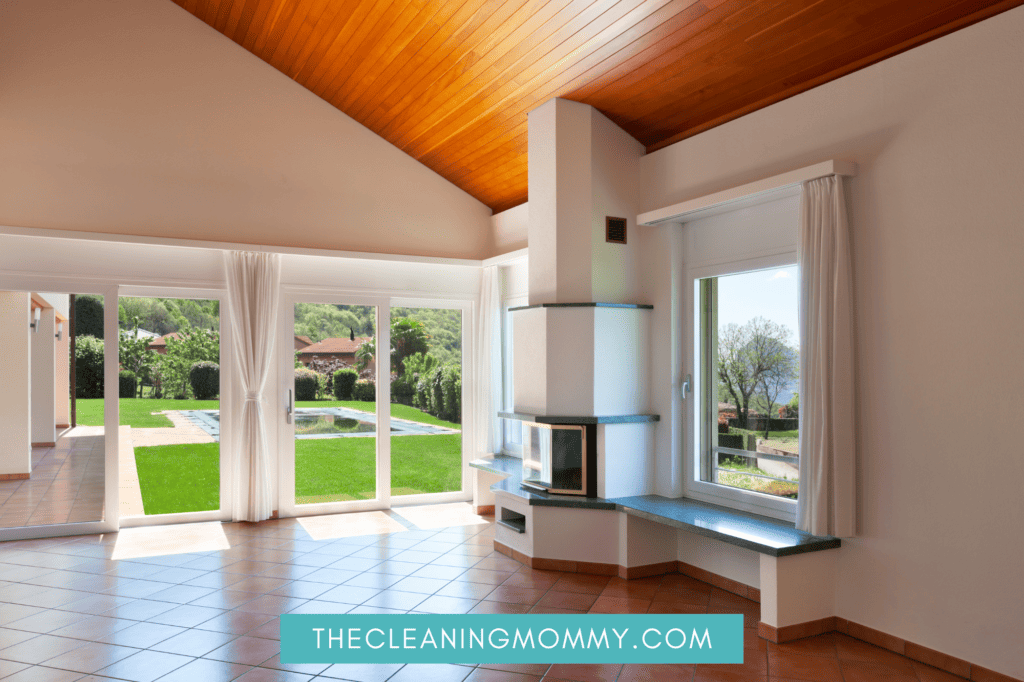
The Basics — What Is Terracotta?
Terracotta is a Latin word that literally means “baked earth.” This gives a clue about what the manufacturing process of terracotta material entails: heating natural red clay in a kiln.
Terracotta is one of the oldest construction materials, and is easily recognizable thanks to its uniquely rich color and natural feel. It’s been used for centuries to make ceramic pottery, floors, walls, roofs, and other surfaces.
If “ floor tiles from the 90’s making a comeback” had a face, it would be terracotta tiles.
These tiles have recently been enjoying the front seat row in popularity — and they deserve it. They are gorgeous, incredibly durable, can last many years without wear and tear if taken care of well, and their versatility is unmatched.
Why Do You Need to Clean Terracotta?
Regular cleaning helps maintain the eye-catchy appearance of any type of flooring, and terracotta floor tiles are no exception.
When you let dirt accumulate on the surfaces, you put your terracotta flooring at risk of ugly scratches. That’s because everyone in the house will step on and grind the dirt against the floor, causing scratches that will ruin your tiles’ natural beauty over time.
Dirt, grime, and stain build-up will also discolor the grout lines and dull your floor’s vibrant look.
With regular cleaning, you’ll keep your floor in tip-top shape at all times and prolong its lifespan.
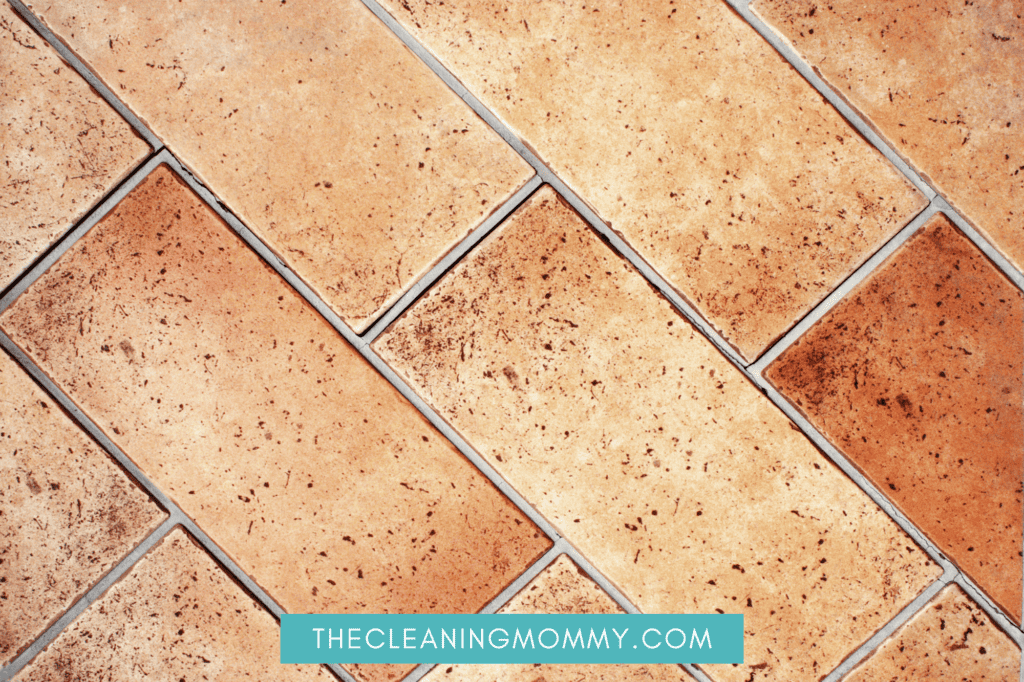
Cleaning Terracotta Tiles (Step-by-Step Guide)
If you’ve just had your tiles installed, it’s best to wait at least three days before walking on or cleaning them. This is to give the flooring enough time to cure and set well.
That said, here’s how to clean terracotta tiles:
Step 1: Remove Dirt and Debris
Before you wash the floor, vacuum all the dust and debris on the surface. This will ensure you don’t smear dirt across the surfaces as you clean.
Plus, you wouldn’t want to rub your damp mop against debris on the surfaces, leaving scratches behind. So, be sure to go over the floor with a vacuum cleaner to remove all the existing dirt on the surface and grout lines.
Step 2: Clean the Floor
Once your tiles are dirt-free, prepare your cleaning solution. In a bucket, add clean, warm water and a few drops of mild detergent like dish soap.
Yes, with something as basic as warm water and mild dish soap, you can make your terracotta surfaces shine like new in no time.
You can also use a store-bought cleaner designed for clay flooring.
When your solution is ready, use a clean mop or sponge to clean the tiles. Make sure you change the water whenever it gets dirty to avoid leaving dirty streaks everywhere.
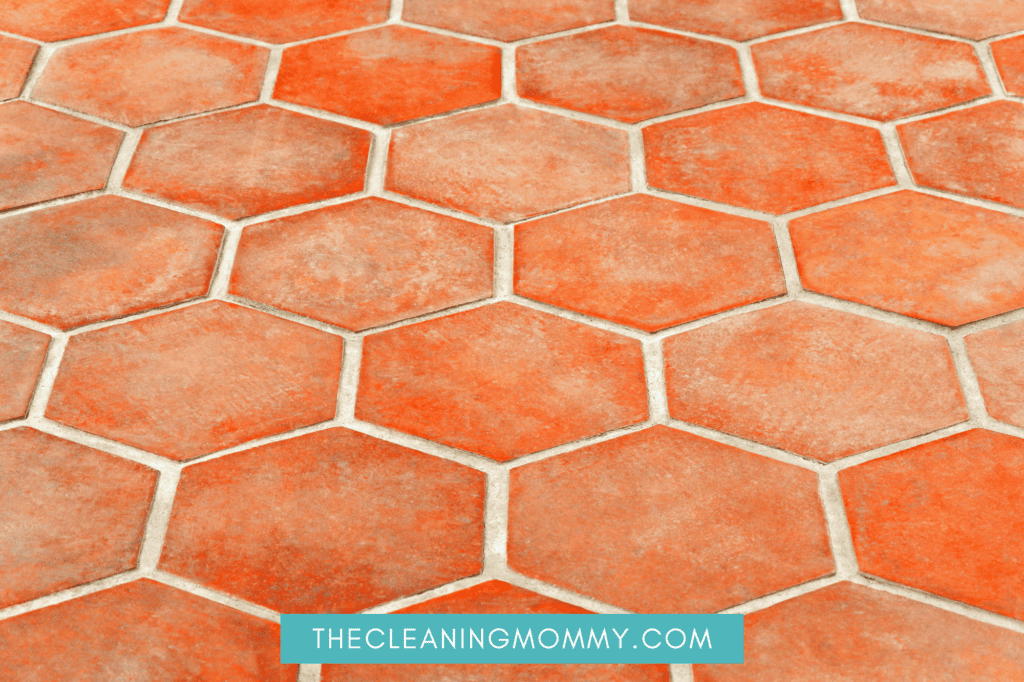
Step 3: Rinse the Floor
Next, clean your mop thoroughly with running water, refill the bucket with clean water, and go over the floors again.
Rinsing is necessary to remove traces of the soapy cleaning solution or chemical residue on the surface. This will ensure your floors don’t look hazy when they finally dry.
Step 4: Dry the Floor
Once you’re done with rinsing, go over the wet surfaces again with an old towel or a dry mop to remove the residual moisture left on the floor.
This is a step you shouldn’t skip for two good reasons.
One, wet terracotta tiles can be quite slippery, so it’s best to dry them to avoid accidents.
And two, the excess moisture trapped in the grout lines will slowly weaken the grout of your terracotta floor tile.

Terracotta Floor Cleaning: Do’s and Don’ts
When preparing to clean terracotta floor tiles, there are key things you need to keep in mind to avoid damaging your flooring unknowingly:
- Use Water Sparingly
When cleaning and rinsing the floor, don’t soak up the surface with too much water. Ensure you’ve wrung the mop or sponge well before cleaning.
The excess water will settle on the grout lines and deteriorate your tiles’ grout. If you always soak the floor with alot of water, the terracotta tile will begin to lift away from the floor.
Also, terracotta flooring — particularly an unsealed one — is naturally porous.
The excess water or cleaning solution will seep into the unsealed tile, which isn’t great because if your flooring is always damp, you’ll have a mold and mildew problem.
- Look for Cleaners Made for Clay Surfaces
If you’re looking for a stronger cleaner than soapy water, buy a cleaner specifically designed for clay surfaces. Don’t just use any cleaner; it’s better to stick to warm, soapy water.
- Avoid Acidic Cleaners
No matter how dirty and stained your floor is, do not use harsh cleaners with acidic elements like ammonia and vinegar to clean or remove stains.
Acidic cleaners discolor terracotta floor tiles and eat up the sealer coating.
If you’re dealing with stubborn stains, buy a commercial stain remover strictly designed to remove stains from clay flooring.
- Refresh Your Rinse Water Often
When rinsing the tiles, ensure the water is as clean as possible.
Changing the water often might seem like a ton of work. But the joy of seeing your flooring gleaming without any dirty water streaks in sight is worth the hassle.
- Remove All Cleaner Residue
To avoid the “dull-floors-after-cleaning” nightmare, rinse your terracotta flooring thoroughly to clear all the cleaner residue on the surfaces.
- Make Sure You Dry Your Floor
Always finish off the cleaning process by drying the wet floor with a dry mop or old towel.
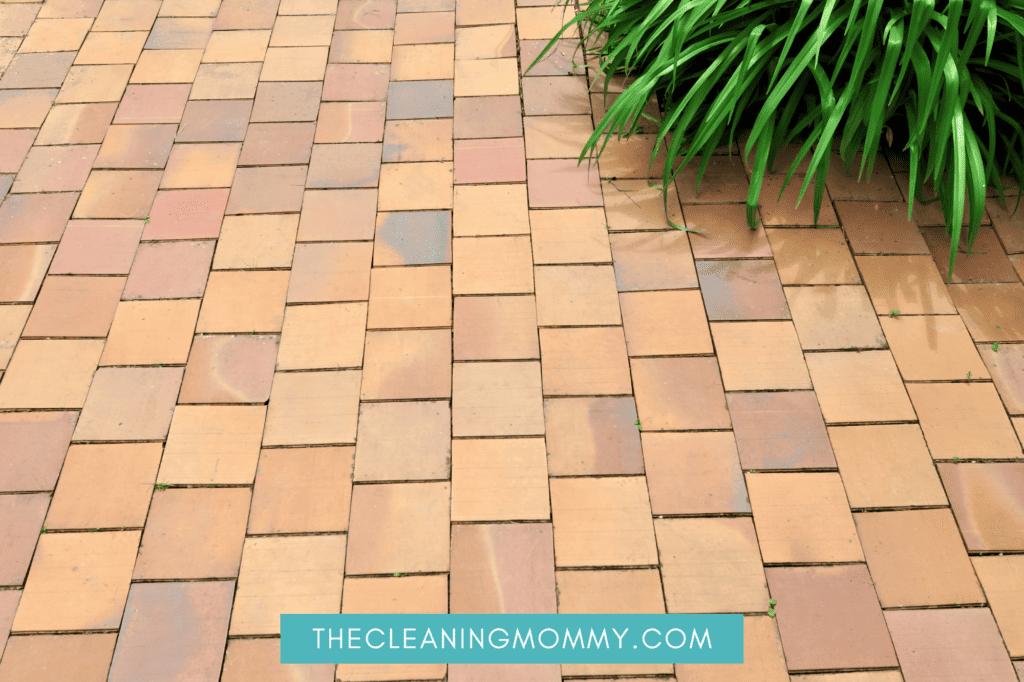
Sealing a Terracotta Tile Floor
Terracotta stone is undoubtedly a stunning, natural material. But in its natural form, this stone doesn’t have a glaze — which is basically a protective coating.
Unglazed terracotta tiles can frustrate you to the moon and back with damages and expensive repairs. They are quite porous and, therefore, easily soak up dust, spills, and water, leading to the tiles cracking, discoloring, and growing mold.
That’s why you need to seal terracotta floor tiles.
Sealing makes your floor tile resistant to all that bad stuff. When you seal, you protect your floors from permanent discoloration, wear and tear, and damage.
A sealer pretty much fills the pores in the terracotta stone, and protects the floor surface and grout joints. It also gives the floor a beautiful sheen.
You can know your flooring is unsealed (or needs to be resealed) through this simple test:
- Pour a teaspoon of water on the tile, leave it for a few minutes, and then observe what happens.
- If the water beads up on the surface, it means your floor has been sealed properly. If the water gets absorbed into the tile, it’s a sign your flooring isn’t sealed (or needs to be resealed).
There are two ways to go about sealing your flooring — applying a high-quality synthetic terracotta floor sealer (store-bought) or using a natural oil sealer like boiled linseed oil.
You can do a DIY sealing project or hire experts to do the sealing for you.
When it comes to store-bought sealers, water-based and oil-based sealers are considered the best choice for terracotta tiles compared to wax sealers.
Reason?
Wax doesn’t usually penetrate deep into the tile’s pores the way water and oil-based sealers like linseed oil do.

Sealing Best Practices
If you’re planning to seal your tiles with boiled linseed oil or a store-bought sealer, here are a few things to keep in mind:
- Clean and let the floor dry completely before applying the sealer. You’ll achieve a smooth and perfect finish when you clean the floor first before sealing.
- Before you get started on the sealing process, make sure you wear rubber gloves.
- Use a soft brush or an extended roller to apply the sealer evenly on each terracotta tile. Ensure you follow all the application instructions on the sealer product label.
- When you apply the sealer, leave it to dry for about 48 hours before going over the floor with a second coat. During this waiting time, ensure there’s no foot traffic on the newly-sealed surfaces.
But it’s best to refer to the manufacturer’s instructions to know exactly how long you should wait before applying the second coat.
Cleaning Terracotta Floors 101: Final Thoughts
Terracotta floor tiles are one of the oldest floorings ever, but they still make the simplest spaces look breathtaking and homey.
If you have this classing flooring in your home, it’s important to maintain a regular cleaning routine so that your surfaces look their best at all times.
But there’s more to it than simply sticking to a cleaning routine — you must always clean your tiles the right way, using the right cleaner.
Hazy-looking, discolored, and damaged terracotta floor tiles don’t just happen — they result from poor cleaning techniques, the wrong choice of cleaner, and the lack of sealer coating.
Thankfully, this won’t be your case because you now have all the tips on how to clean and seal terracotta flooring properly at your fingertips.
Other Cleaning Articles You May Like:
- How to get rid of bed bugs in your carpet
- How to clean work boots
- How to clean up fire extinguisher residue
- How to clean discolored viny floors
- Things you should declutter in your home right now

Grainne Foley
Grainne Foley is a wife and mother of 2 great kids. During her 5 years of full time RV travel, Grainne learned to become very efficient at household chores, in order to make time for family adventures. Now, back in a house, she has continued to create tools and techniques to help others lighten the load of household organization and cleaning.

Leave a Reply