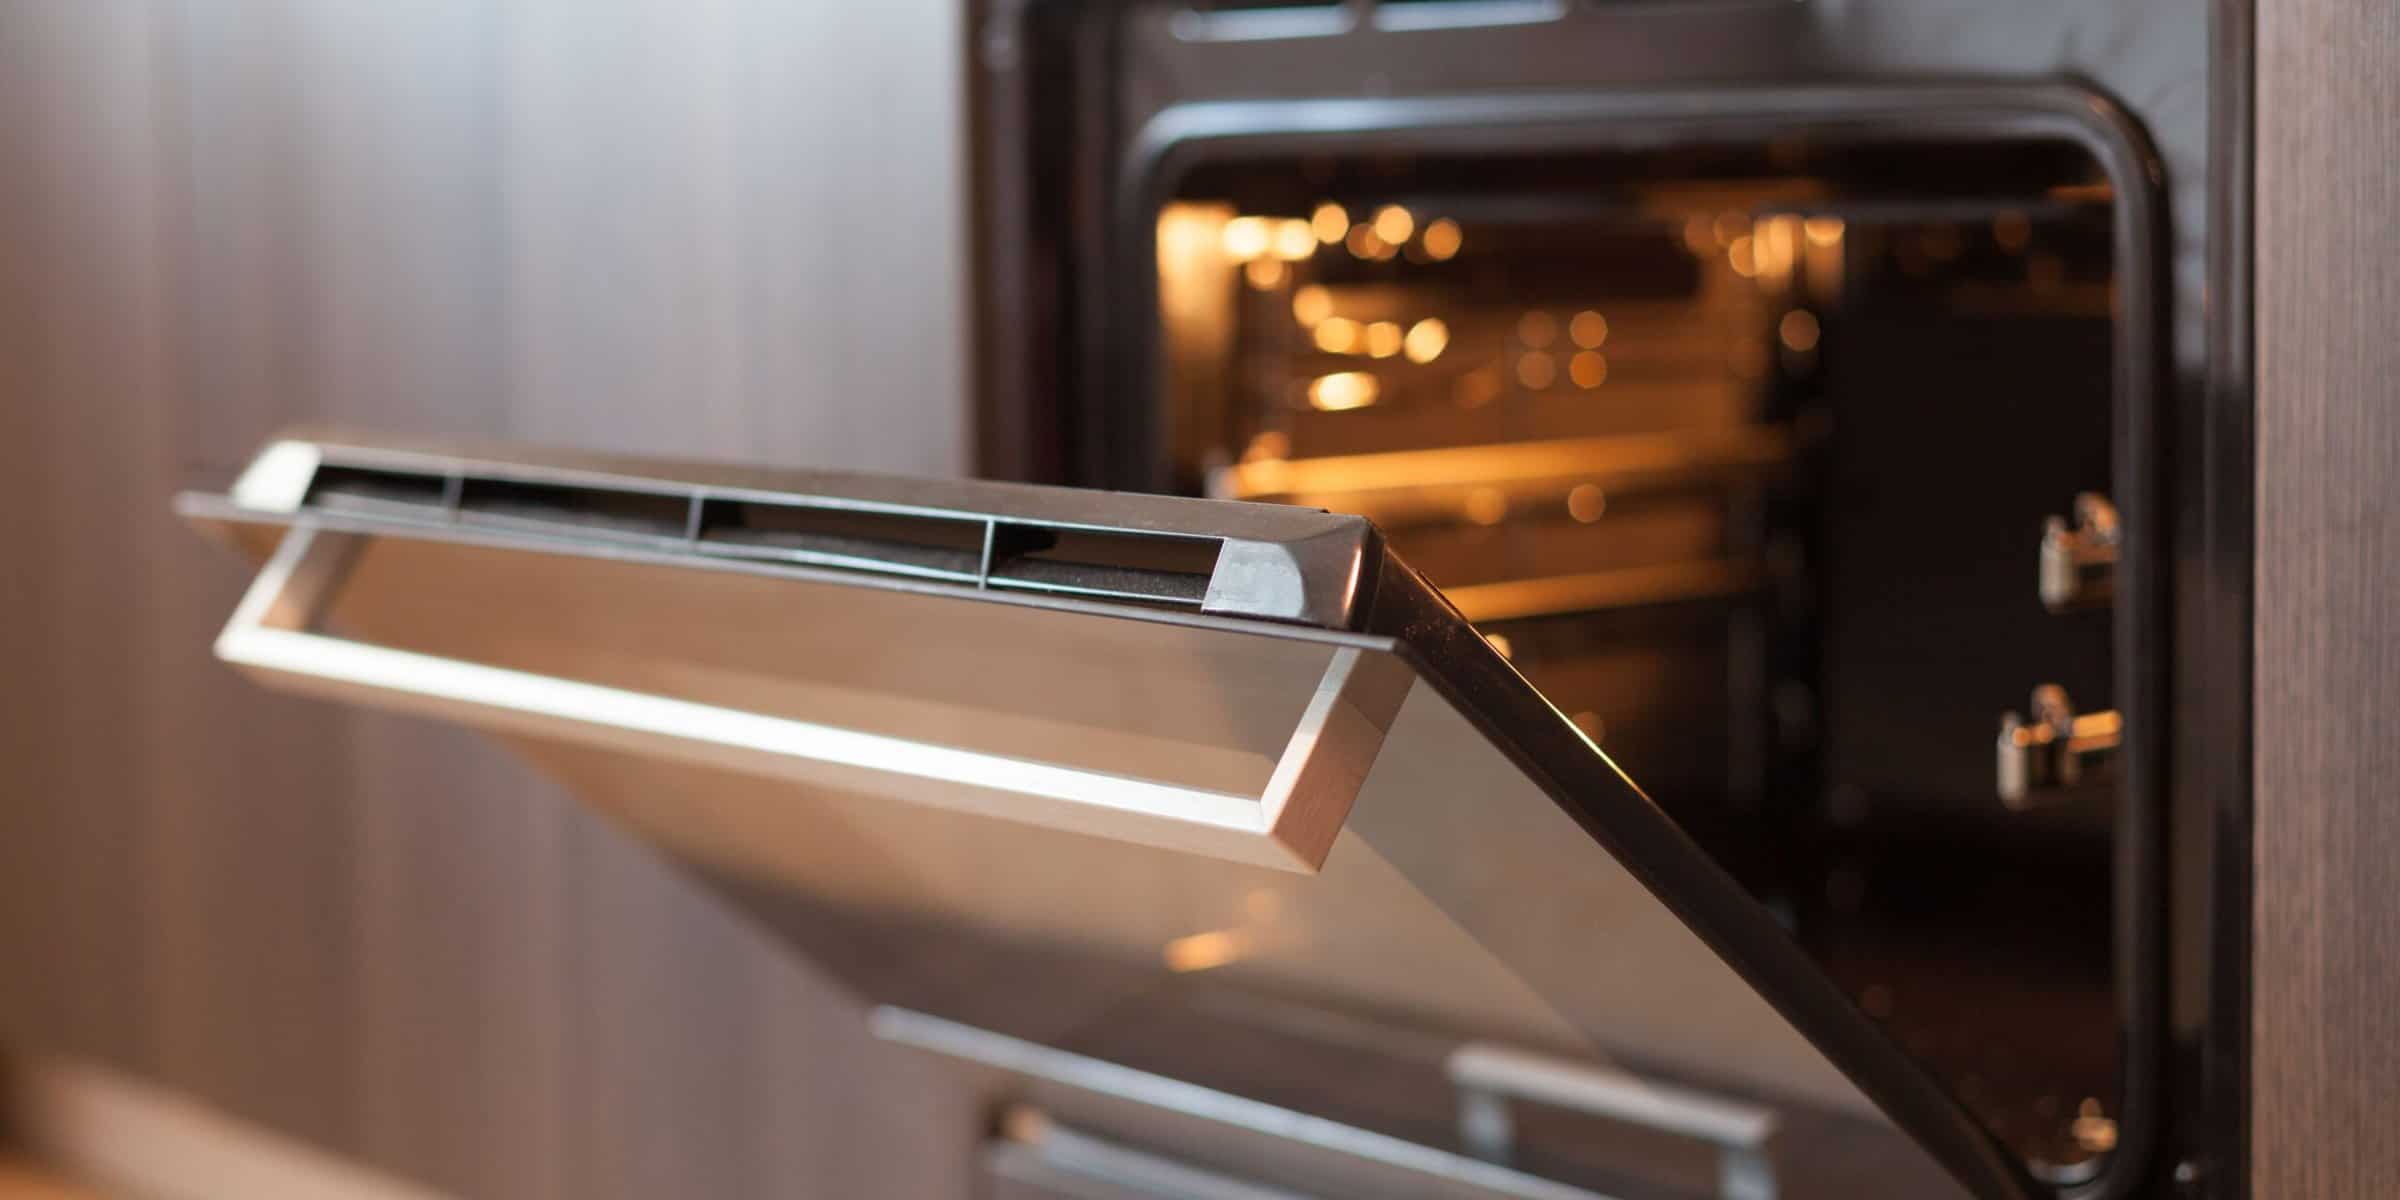
Self-cleaning ovens might seem like a match made in heaven if you don’t have much time for cleaning, but unfortunately, like many other fancy features in electrical appliances, this is only something that works short-term.
Having a self-cleaning oven doesn’t mean that you won’t have to use elbow grease and cleaning wonders to get your oven clean. It simply means that you won’t have to do it as often as you would with an ordinary oven.
Because ovens are used to prepare food, it’s only a matter of time before all kinds of grease, oil, and burnt bits accumulate on the oven’s interior and affect its cooking performance. Not to mention the odor and unsightly appearance that goes with it.
To avoid this from happening, it’s advised to deep clean your oven manually from time to time, instead of only relying on your oven’s self-cleaning mode alone.
Though the self cleaning cycle will take care of most of the grim and dirt, it won’t be effective in removing all of it.
Manual cleaning does not have to be a tedious task and can be done with minimal effort if the right techniques are used. The time it takes to clean your oven manually will essentially be dependent on the products you use.
How to Clean a Self Cleaning Oven Manually
When manually cleaning a self-cleaning oven, there are a few options to choose from. You can choose an oven cleaner to do the job, or you can make your own oven-cleaning solution from ordinary household products.
Whichever method you choose, we’ll walk you through the cleaning process that you can take to ensure that oven stains disappear, and your oven is sparkling and looks brand new.
There are a lot of components that require cleaning, like the oven glass, walls, and oven racks or trays. Each one of these requires a different technique to properly clean it. We’ve listed all the steps you’ll need to clean all the greasy areas of a self-cleaning oven in the section below.
How to Clean an Oven With Oven Cleaner
First up, let’s take a look at ordinary oven cleaners to manually clean your oven. Before we walk you through the steps to clean your oven with ordinary oven cleaners, let’s first discuss the hazards associated with these chemicals.
Strong chemicals are frequently used by oven cleaners to cut through oil and filth. To safeguard your hands and eyes, we advise wearing gloves and goggles. To avoid inhalation, it is advised to open windows for proper ventilation.
It is also important to never combine different cleaning chemicals as you may produce dangerous or even lethal fumes.
Inside the Oven
- Empty the cold oven and remove all the pans and oven racks inside. Be careful not to remove fragile elements like the heating element.
- After emptying the oven, uniformly spray the oven’s walls with the oven cleaner of your choice. It’s important to keep the light and internal electrical components out of the way to prevent them from getting wet or damaged. To be extra cautious, you can cover the components with aluminum foil if necessary.
- Leave the product on for as long as is advised by the manufacturer’s instructions. Some products might require that you leave the cleaner overnight, while other stronger solutions may only require a half-hour.
- Check the oven’s worst spots by wiping the solution away while wearing gloves and seeing whether the dirt is lifting.
- Start cleaning the inside of the oven with a sponge and warm water, washing the sponge as you go.
- Re-spray any stubborn stains and wait 30 minutes, and then scrub the oil and grease with a non-metal scouring pad.
Oven Shelves and Trays
- Lay out old newspapers or paper towels on the floor and place the oven racks and trays on top of them.
- Add oven cleaner to a sponge and apply the oven cleaner mixture evenly onto shelves and trays using the sponge. For more cleaning power, you can spray the cleaner directly onto the trays.
- Allow the cleaner to sit overnight. Remember to close the doors to keep children and pets away from the harmful chemicals. Harsh chemicals could lead to skin irritation and could be harmful if digested or inhaled.
- Test the effectiveness of the solution by wiping a small section clean while wearing rubber gloves. Now wipe off any excess cleaner. Use a knife or scourer to remove any stubborn filth.
- Rinse clean.
Oven Glass Door with Oven Cleaner
- Remove any food or easily removable oil from the oven glass using a wet cloth or paper towel.
- Spray oven cleaner on the glass of the oven and let it sit overnight or as directed by the manufacturer.
- Make use of a damp towel to remove the oven cleaner.
- To remove oil or persistent stains, use a non-metal scourer or a blunt knife.
- Scrub the oven glass with a newspaper or rag.
Some DIY Cleaning Solutions For A Self Cleaning Oven
If you don’t have any oven cleaner at home and you don’t want to run to the store to buy new cleaning products, try making your own cleaning solution from products that you might already have in your house.
Baking Soda
Baking soda is not only good for baking. In fact, baking soda works wonders for a number of cleaning situations, ovens included. Manual cleaning can be very easy with this cleaning technique. Simply follow the steps below to rid your self-cleaning oven of grime and grease once and for all.
Baking soda is also the ideal solution if your oven smells a little. Most foul odors are made of acid, which baking soda neutralizes. This makes baking soda a dual-action cleaning solution for your self-clean oven.
Inside the Oven
- Remove all of the food from the oven, sweep up any remaining food particles, and use paper towels to absorb as much grease as you can.
- To make a thick paste that will adhere to the oven walls, combine baking soda and tiny amounts of water.
- Apply the paste, and allow it to sit for anywhere between 15 minutes and overnight.
- Check to see whether the oil and burned-on food are lifting by removing part of the paste from the worst spots with a gloved finger.
- Once the filth and paste are readily wiped away, use a paper towel or other cloth to remove all of the baking soda residue.
- Reapply soapy water or white vinegar to the surface. Any remaining baking soda will react with the vinegar, allowing you to spot any missed spots.
- Wipe the oven clean once more with a damp cloth and let the inside dry.
Oven Shelves and Trays
- For the first 15 minutes, cover the racks and any trays with a thick paste made of baking soda and water.
- Use a gloved finger to rub the mixture and check to see if any dirt is coming off. If the dirt and grime are easily removed, you can remove the bicarb mixture with a scourer before rinsing them in the sink.
- If the filth won’t come off, try scouring the scorched portions with a toothbrush, scourer, or blunt knife before rinsing.
Oven Glass Door with Oven Cleaner
- Wipe the surface of the oven glass with a thick paste made of baking soda and water, rubbing the mixture into any greasy spots.
- Spray a little water and vinegar on the oven glass, then wipe the solution away. (This will result in foaming; cover the floor with a cloth to prevent a mess.)
- After the door has dried and all of the paste has been removed, spray the glass with a mixture of two tablespoons of vinegar and two cups of water.
- Use newspaper or a dry microfiber towel to polish the oven glass until it shines.
- The vinegar odor might persist, but it will dissipate after cooking.
Citrus Oven Cleaner
Citrus can be used to produce a refreshing smell and can be used to get rid of a foul smell in your oven.
- Mix about two tablespoons of lemon juice or lime juice and half a cup of water in an oven-safe bowl.
- After turning on the oven, put the bowl containing the mixture inside. The oven must be over 400°F because the mixture is supposed to turn into steam. High temperatures are needed to activate the cleaning solution.
- Scrub the surface after the liquid has evaporated and allow it to cool to the touch.
- The steam will soften the dirt, making it easy to wipe or lightly brush it off.
Ammonia and Vinegar Oven Cleaner
Ammonia and vinegar are another one of our effective cleaning tips that you can use to get a spotless self-cleaning oven once again. The ability of ammonia to swiftly dissolve any oil and make it easier to wash them away is one of its best features.
To clean your entire oven with ammonia and vinegar, do the following:
- Empty the oven before cleaning. Be careful not to touch or remove the oven’s heating elements. You can remove any debris from the oven using a spatula or any other tool that can easily scoop up the dirt.
- After heating the oven to 200 degrees, switch it off.
- On the top oven rack, pour about 2 cups of ammonia into a glass dish that can withstand heat.
- Put about 2 cups of boiling hot water in another glass dish that is heat-safe, and then gently place it on the lower rack.
- Shut the oven door.
- Leave overnight to allow the fumes to soften the grime.
- Spot test to see if the grease and grime are easily removed before wiping all the excess gunk away.
- Once you’ve removed all the gunk, you can wipe the oven clean with paper towels or old newspapers.
- You can put some vinegar in a spray bottle and spray it on some sections that might still have some stubborn grime. Leave the solution to sit for a few minutes, and then wipe it clean with a cloth or paper towel. Repeat if necessary.
Conclusion
Self-cleaning ovens can be convenient to have. They are, for the most part, very low maintenance and require minimal manual cleaning. However, there are situations where manual cleaning becomes unavoidable.
This does not have to be a tedious task and can be done with minimal effort. Just apply the cleaning tips that we’ve shared, and your oven will look and smell brand new.
More On Cleaning the Kitchen
- Best Soap Dispensing Dish Brushes
- Guide To Choosing The Best Cloth For Cleaning The Kitchen
- How To Clean Electric Stove Top
- How To Clean Kitchen Tiles

Grainne Foley
Grainne Foley is a wife and mother of 2 great kids. During her 5 years of full time RV travel, Grainne learned to become very efficient at household chores, in order to make time for family adventures. Now, back in a house, she has continued to create tools and techniques to help others lighten the load of household organization and cleaning.


