Do you often cook rice and other dishes using a rice cooker? Or are you planning to buy one?
Then knowing how to clean a rice cooker properly is a must-have skill if you want your cooker to serve you for a long time.
If we were to create a list of the handiest kitchen appliances, rice cookers would be up there.
I mean, what’s not to love about an appliance that makes the perfect rice in the shortest cooking time and serves as a storage unit when you have cooked rice leftovers? Honestly, a rice cooker is that kitchen bestie every rice lover needs.
How cool would it be if you were able to cook rice, without cooking rice. I love being able to throw food into my slow cooker (with little effort from me), and cooking rice in my rice cooker (with little effort from me).
I’m a lazy cook and I don’t care who knows it, I don’t want to spend my days in the kitchen cooking, so I find easy appliances that can do the job for me!
The good thing is, cleaning a rice cooker isn’t as complicated as many think. Not quite sure how to go about this cleaning process?
I’ve got you covered.
Without further ado, let’s jump right into this step-by-step guide on how to clean a rice cooker and make it sparkle like new, shall we?
*This post contains affiliate links. Full disclosure here.
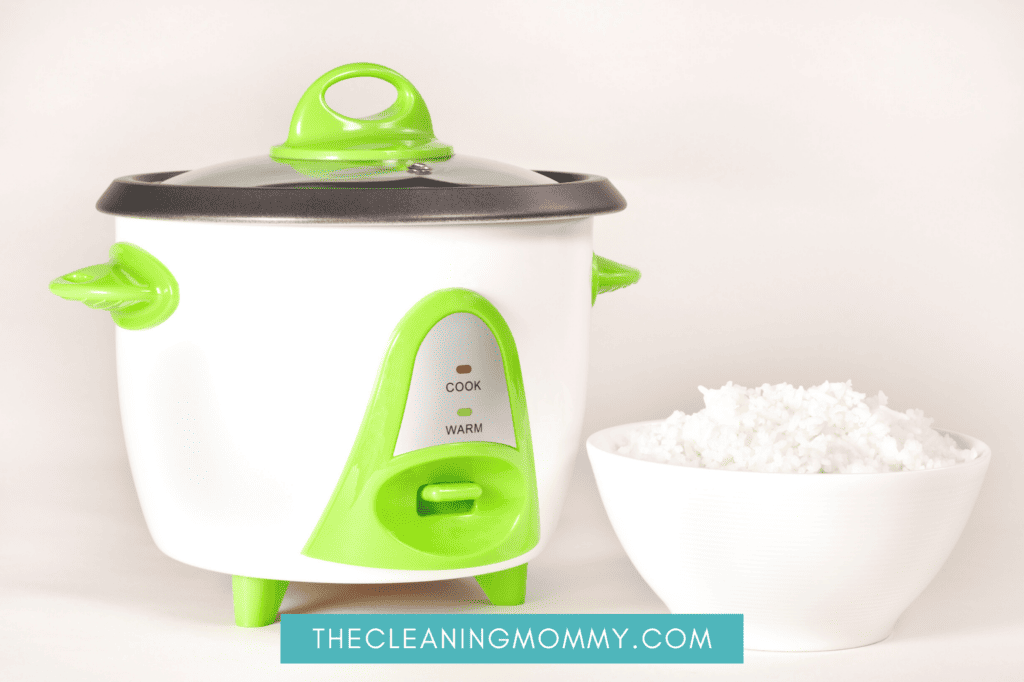
First Things First, Check the Manual
Before you start cleaning your aroma rice cooker, you should check out the manual for specific cleaning instructions and safety precautions.
The thing is, rice cookers aren’t all the same. For instance, you may find a particular rice cooker model with parts that shouldn’t be washed in the dishwasher for reasons best known to the manufacturer — and you’ll find these details in the manual.
Checking out the manual will help you avoid cleaning your unit in a way that will damage it.
Plus, it’s for your own safety.
Like every other electrical appliance, a rice cooker has its risks if improperly handled. Referring to the safety instructions will help you be cautious when cleaning your unit to avoid accidents.
If you can’t remember where you put the manual? No problem — you should be able to find the online manual on your rice cooker brand’s website.
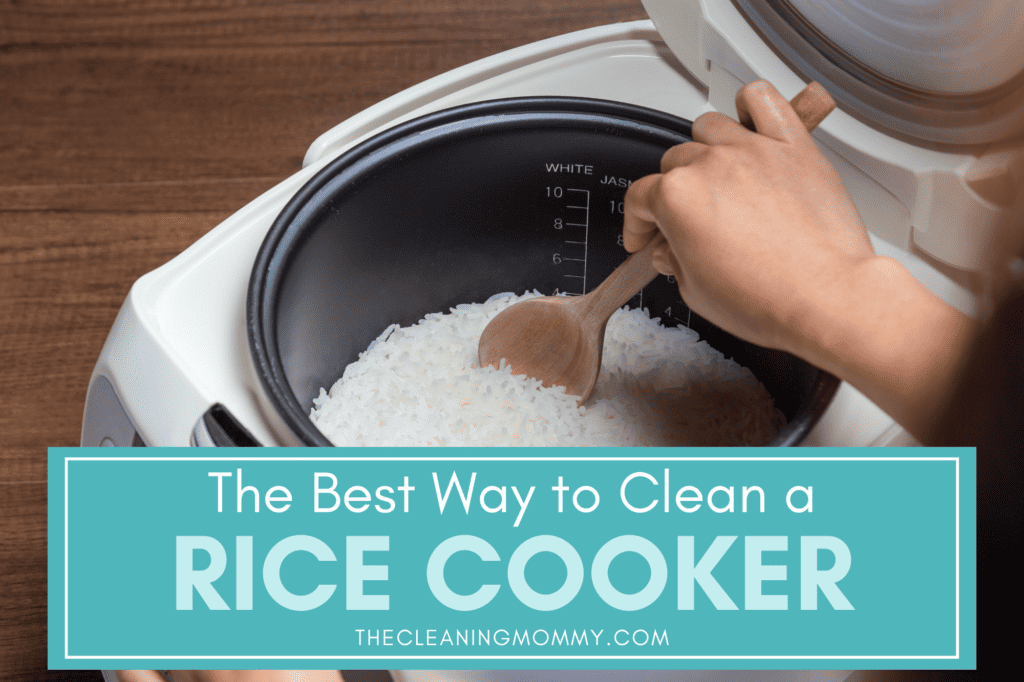
Cleaning Method 1 (the Easiest): Try Running Water Through a Cycle First
Let me clarify:
This simplified cleaning method works best when you want your cooker to look fresh and clean shortly after using it to make rice — not when you’ve left it to sit on the counter for days with stuck-on rice.
That said, here’s the easiest way to make your aroma rice cooker look spic and span without the need for dish soap, elbow grease, and other cleaners:
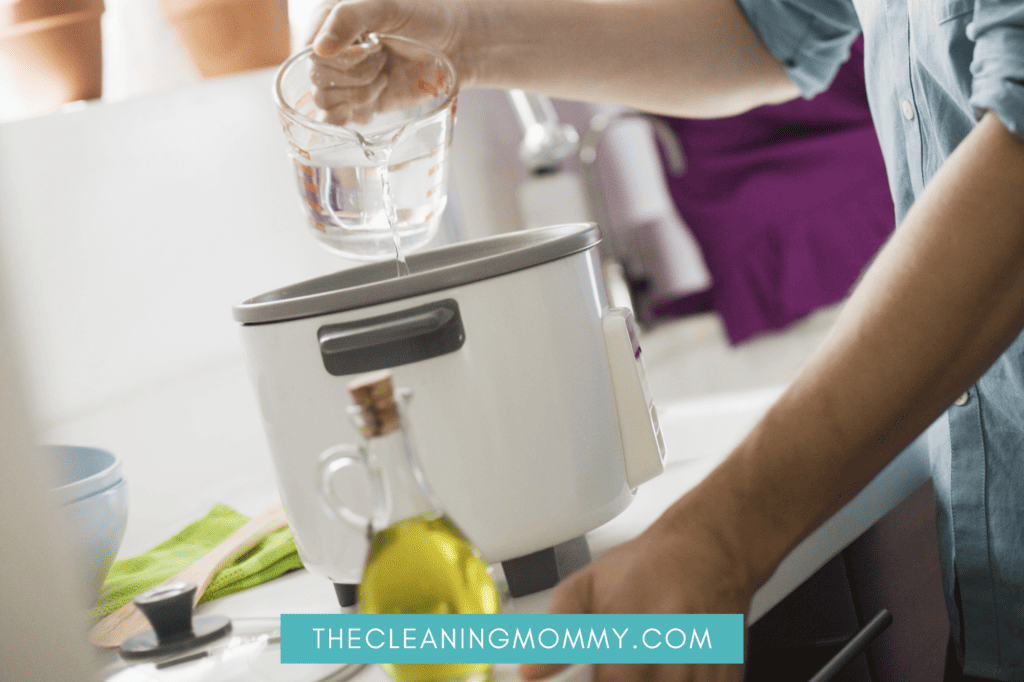
Step 1: Add water to your dirty rice cooker
Fill the inner pot with about ⅓ full of water. You don’t need to add any cleaner at this point.
Step 2: Run Through a Quick-Cook Cycle
Once your rice cooker is ⅓ filled with water, set it to the “quick cook” mode and let it run. The heat and steam from the boiling water will loosen the rice stuck on the lid and inner pot.
Step 3: Dump Water and Do a Wipe Down
When the quick-cook cycle is over, pour the dirty water. Remember to unplug your rice cooker before you start wiping it.
Once emptied and unplugged, wait for the whole cooker to cool down, then get ready with a handful of paper towels to help you remove the loosened rice particles and other dirty residues.
Wipe the outer lid and the surface of the cooker that normally comes into contact with the lid.
Step 4: Get into Crevasses
Give the inner pot, inner lid, heating plate, steam basket, and other removable parts of your rice cooker a good wipe-down.
Gently remove the inner lid (if it’s detachable) and use a couple of paper towels (or a clean microfiber cloth) to clear the food residue and excess moisture trapped in the inside grooves of the lid.
Then, use fresh paper towels (or a clean, damp cloth) to remove the sticky food residue on the detachable inner pot, cooker’s interior, hot plate, steam cap, and other removable parts.
Do not clean the heating plate with running water or a soaking wet cloth since you’ll expose the electrical parts to water. Simply wipe it down with a slightly damp cloth.
Also, do not use a metal utensil to scrape off sticky rice on the inner pot.
Step 5: Wipe the Outside of the Rice Cooker
Once you’ve tackled the mess on the inside, wipe the outside of the cooker with a moist cloth.
If you’d like to clean the dusty power cord, use a dry cloth. If the cord has food stains, wipe it with a clean cloth slightly moistened with cold water, then go over it again with a dry cloth.
Reassemble your rice cooker when all the parts are completely dry.
Cleaning Method 2: If the First Method Didn’t Work, Try This
Step 1: Let your Cooker Cool Down
Unplug your rice cooker from the power source and let it cool completely to room temperature before you deep clean it.
Your rice cooker’s manual can guide you on how long you should wait for your unit to cool down.
Step 2: Gently Remove the Parts
Carefully remove the detachable parts of your rice cooker so you can clean them one by one.
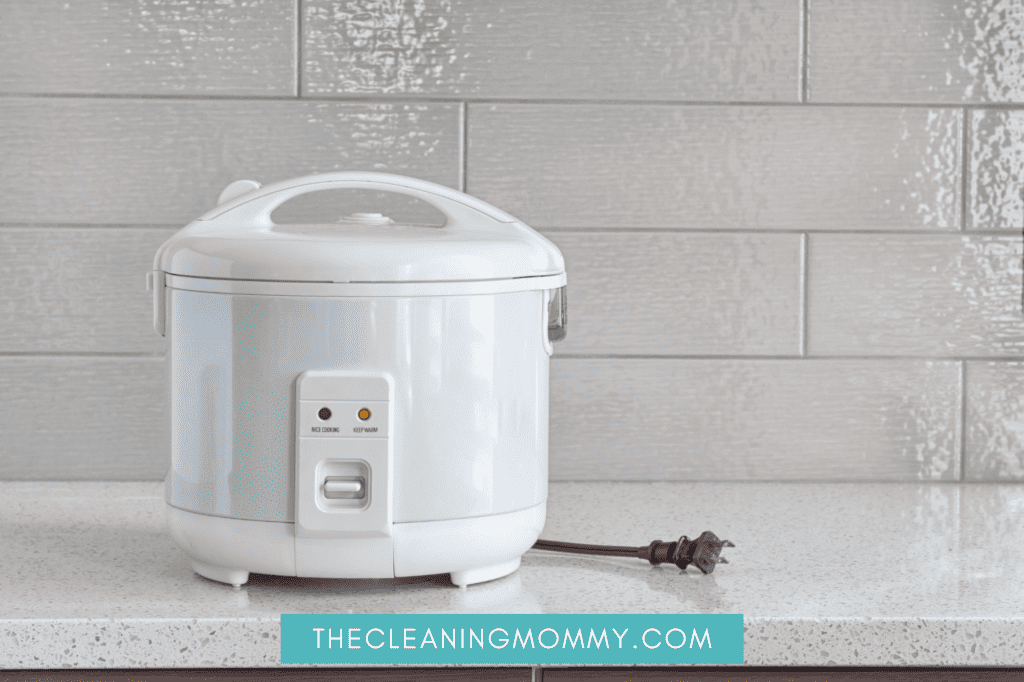
Almost all cookers have a detachable inner lid and a detachable inner pot. Some other models come with a detachable steam basket, measuring cup, condensation collector, and more. It all depends on the particular model of your rice cooker.
Once you’ve removed all the parts, proceed to make a cleaning solution.

Step 3: Make Your Cleaning Solution
In a bucket (or in your sink), pour warm or hot water and add a few drops of dish soap or any other mild detergent.
Warm, soapy water will loosen the hard-to-remove residue on the inner pot and the other parts.
This cleaning solution is also recommended because of how mild it is. Using abrasive cleaners can damage your cooker’s protective, non-stick coating.
Heavy-duty cleaners also leave behind chemical residues that can get into your food the next time you use the rice cooker.
Step 4: Soak Then Wash Removable Parts
Soak the inner pot, detachable lid, rice paddle, steamer basket, and the other removal parts in the warm or hot, soapy water for around three hours.
Note, though, that the soaking time depends on how hardened the food remnants are on the different rice cooker parts.
If your cooker lacks a detachable inner lid, simply soak a clean microfiber cloth (or a non-abrasive sponge) in the soapy water and use the damp cloth to thoroughly clean the lid.
When soaking time is over, use the soft cloth or sponge to clean the inner pot and the other soaked parts.
If there are food residues stuck in the inner pot that aren’t coming off easily, try removing them using a plastic spoon or spatula.
Don’t use any metallic object or scrubbers like steel wool to get rid of the stubborn residue — you’ll ruin your inner pot’s non-stick coating.
Once you’ve washed all the removable parts, rinse them in running water, then dry them with a clean, dry cloth.
Step 5: Wash the Inside of the Rice Cooker
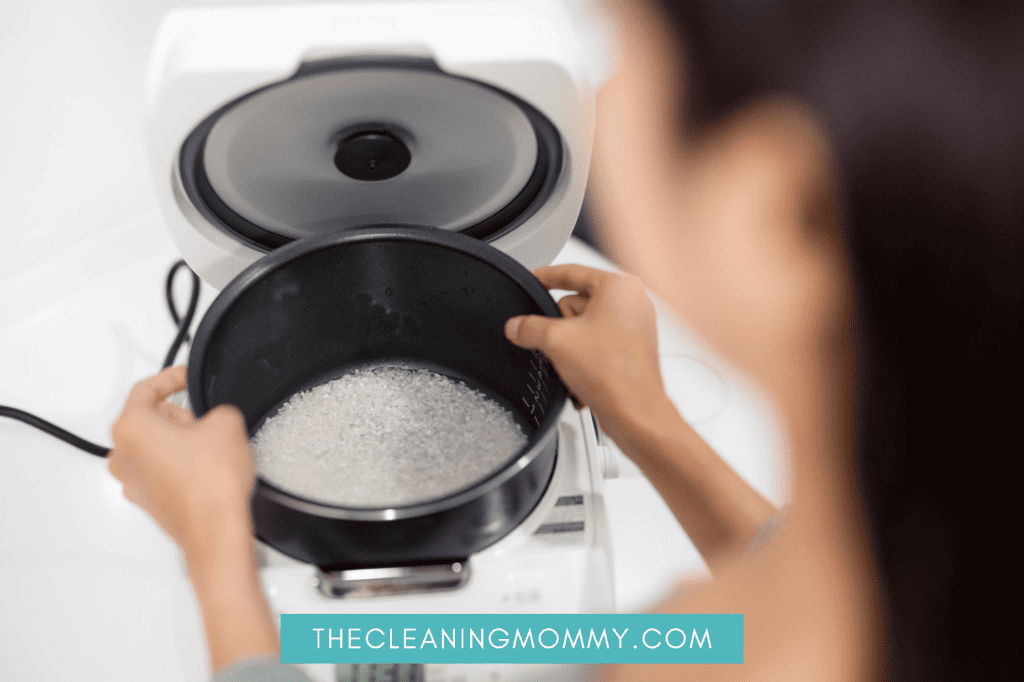
As the removal parts soak in hot or warm water, use this time to clean the inner cooking pot that holds the heating plate.
Using a damp cloth or non-abrasive sponge soaked with the soapy water, gently wipe down the inside of the cooker to remove any sticky mess.
Ensure you’ve wrung the excess water on the cloth before wiping down the hot plate.
If there are caked food stains on the cooker’s heating element (hot plate), use a ball of fine steel wool or sandpaper to gently scrub the stains away before wiping with a damp cloth.
Also, do not use metal utensils like forks to remove the caked mess. Otherwise, your spotless hot plate will end up with unsightly scratches. These scratches can interfere with your hot plate’s ability to pass heat to the inside pot effectively.
Once you’ve cleared the stubborn food remnants, rinse the used cloth, wring it well, and wipe the inside of the cooker again with the moist rag.
Then, use another clean, dry cloth to wipe the interior.
Step 6: Clean the Outside of the Cooker
It’s now time to work on the exterior of your rice cooker. You’ll need your favorite all-purpose cleaner and a clean microfiber cloth.
If you’ve run out of your preferred cleaner, make a homemade cleaner in a spray bottle using equal parts of water and white vinegar, and add a teaspoon of baking soda.
Dampen the cloth with the vinegar solution, wring it well to remove the excess water, and go over the cooker’s exterior with the moist rag.
Finish off by wiping the outside of the cooker one more time with a dry microfiber cloth.
Step 7: Let the Rice Cooker Parts Dry Completely
Lastly, leave the cleaned parts to completely dry before reassembling the whole cooker.
How Often Should You Clean Your Rice Cooker
It’s advisable to clean your rice cooker after every cooking session — for hygiene reasons and to make cleaning time less frustrating.
As your rice cooker cooks rice, steam and mushy rice particles settle on the rice cooker lid. If you don’t clean up these residues soon enough, your cooker will start to emit unpleasant odors.
The worst part?
This moist environment on the inner lid can attract bacteria, putting you at risk of food poisoning if you use the unclean rice cooker to prepare your next meal.
What I’m trying to say is, using a clean rice cooker every single time has its health advantages.
Besides that, cleaning your rice cooker after every use is recommended because the remaining food particles harden more on the cooker’s surface with each passing day. You’ll have a stressful time trying to remove the crusty mess.
5 Helpful Tips for Keeping Your Rice Cooker Clean and Working Properly
To make rice cooker cleaning efforts less stressful and ensure your unit works efficiently for a long time, keep these four tips in mind:
- Rather than letting your rice cooker sit on the counter unclean for days, make it a habit to clean it after each use.
- Always place your cooker on a flat and stable surface. This will prevent the food from cooking unevenly, burning, and sticking to the bottom.
- Do not dish wash parts of your rice cooker that the manual hasn’t approved as dishwasher-safe. If dishwashing isn’t an option, stick to hand washing your cooker with a soft cloth.
- Do not immerse the base of your rice cooker unit (where the hot plate sits) in water. You’ll not only damage the electrical parts but also risk getting an electric shock the next time you plug in the cooker.
- Always follow all the instructions in the manual to avoid causing performance issues.

How to Clean a Rice Cooker: Final Thoughts
Rice cookers make life a lot easier. Whether you enjoy brown rice or have a soft spot for white rice, these handy kitchen appliances deserve a round of applause for making the perfect rice meal in such a short time.
But the convenience of a cooker comes at a price — because you use it often, you need to clean your rice cooker regularly and properly.
Cleaning your rice cooker can be quite a hassle if you let it stay unwashed for days. That’s why it’s best to clean it after every meal.
By following all the pointers in this post, you’ll protect your cooker from permanent damage and unpleasant odors, and ensure it’s hygienic enough for your next use.
I hope my tips will help show you how to clean a rice cooker the best way. Happy cooking!
Other Cleaning Articles You May Like:
- Speed cleaning checklist for when unexpected guests are on the way
- Busy mom cleaning routine
- How to clean a messy house
- How to deep clean house after cats
- How to keep order at home

Grainne Foley
Grainne Foley is a wife and mother of 2 great kids. During her 5 years of full time RV travel, Grainne learned to become very efficient at household chores, in order to make time for family adventures. Now, back in a house, she has continued to create tools and techniques to help others lighten the load of household organization and cleaning.


Leave a Reply